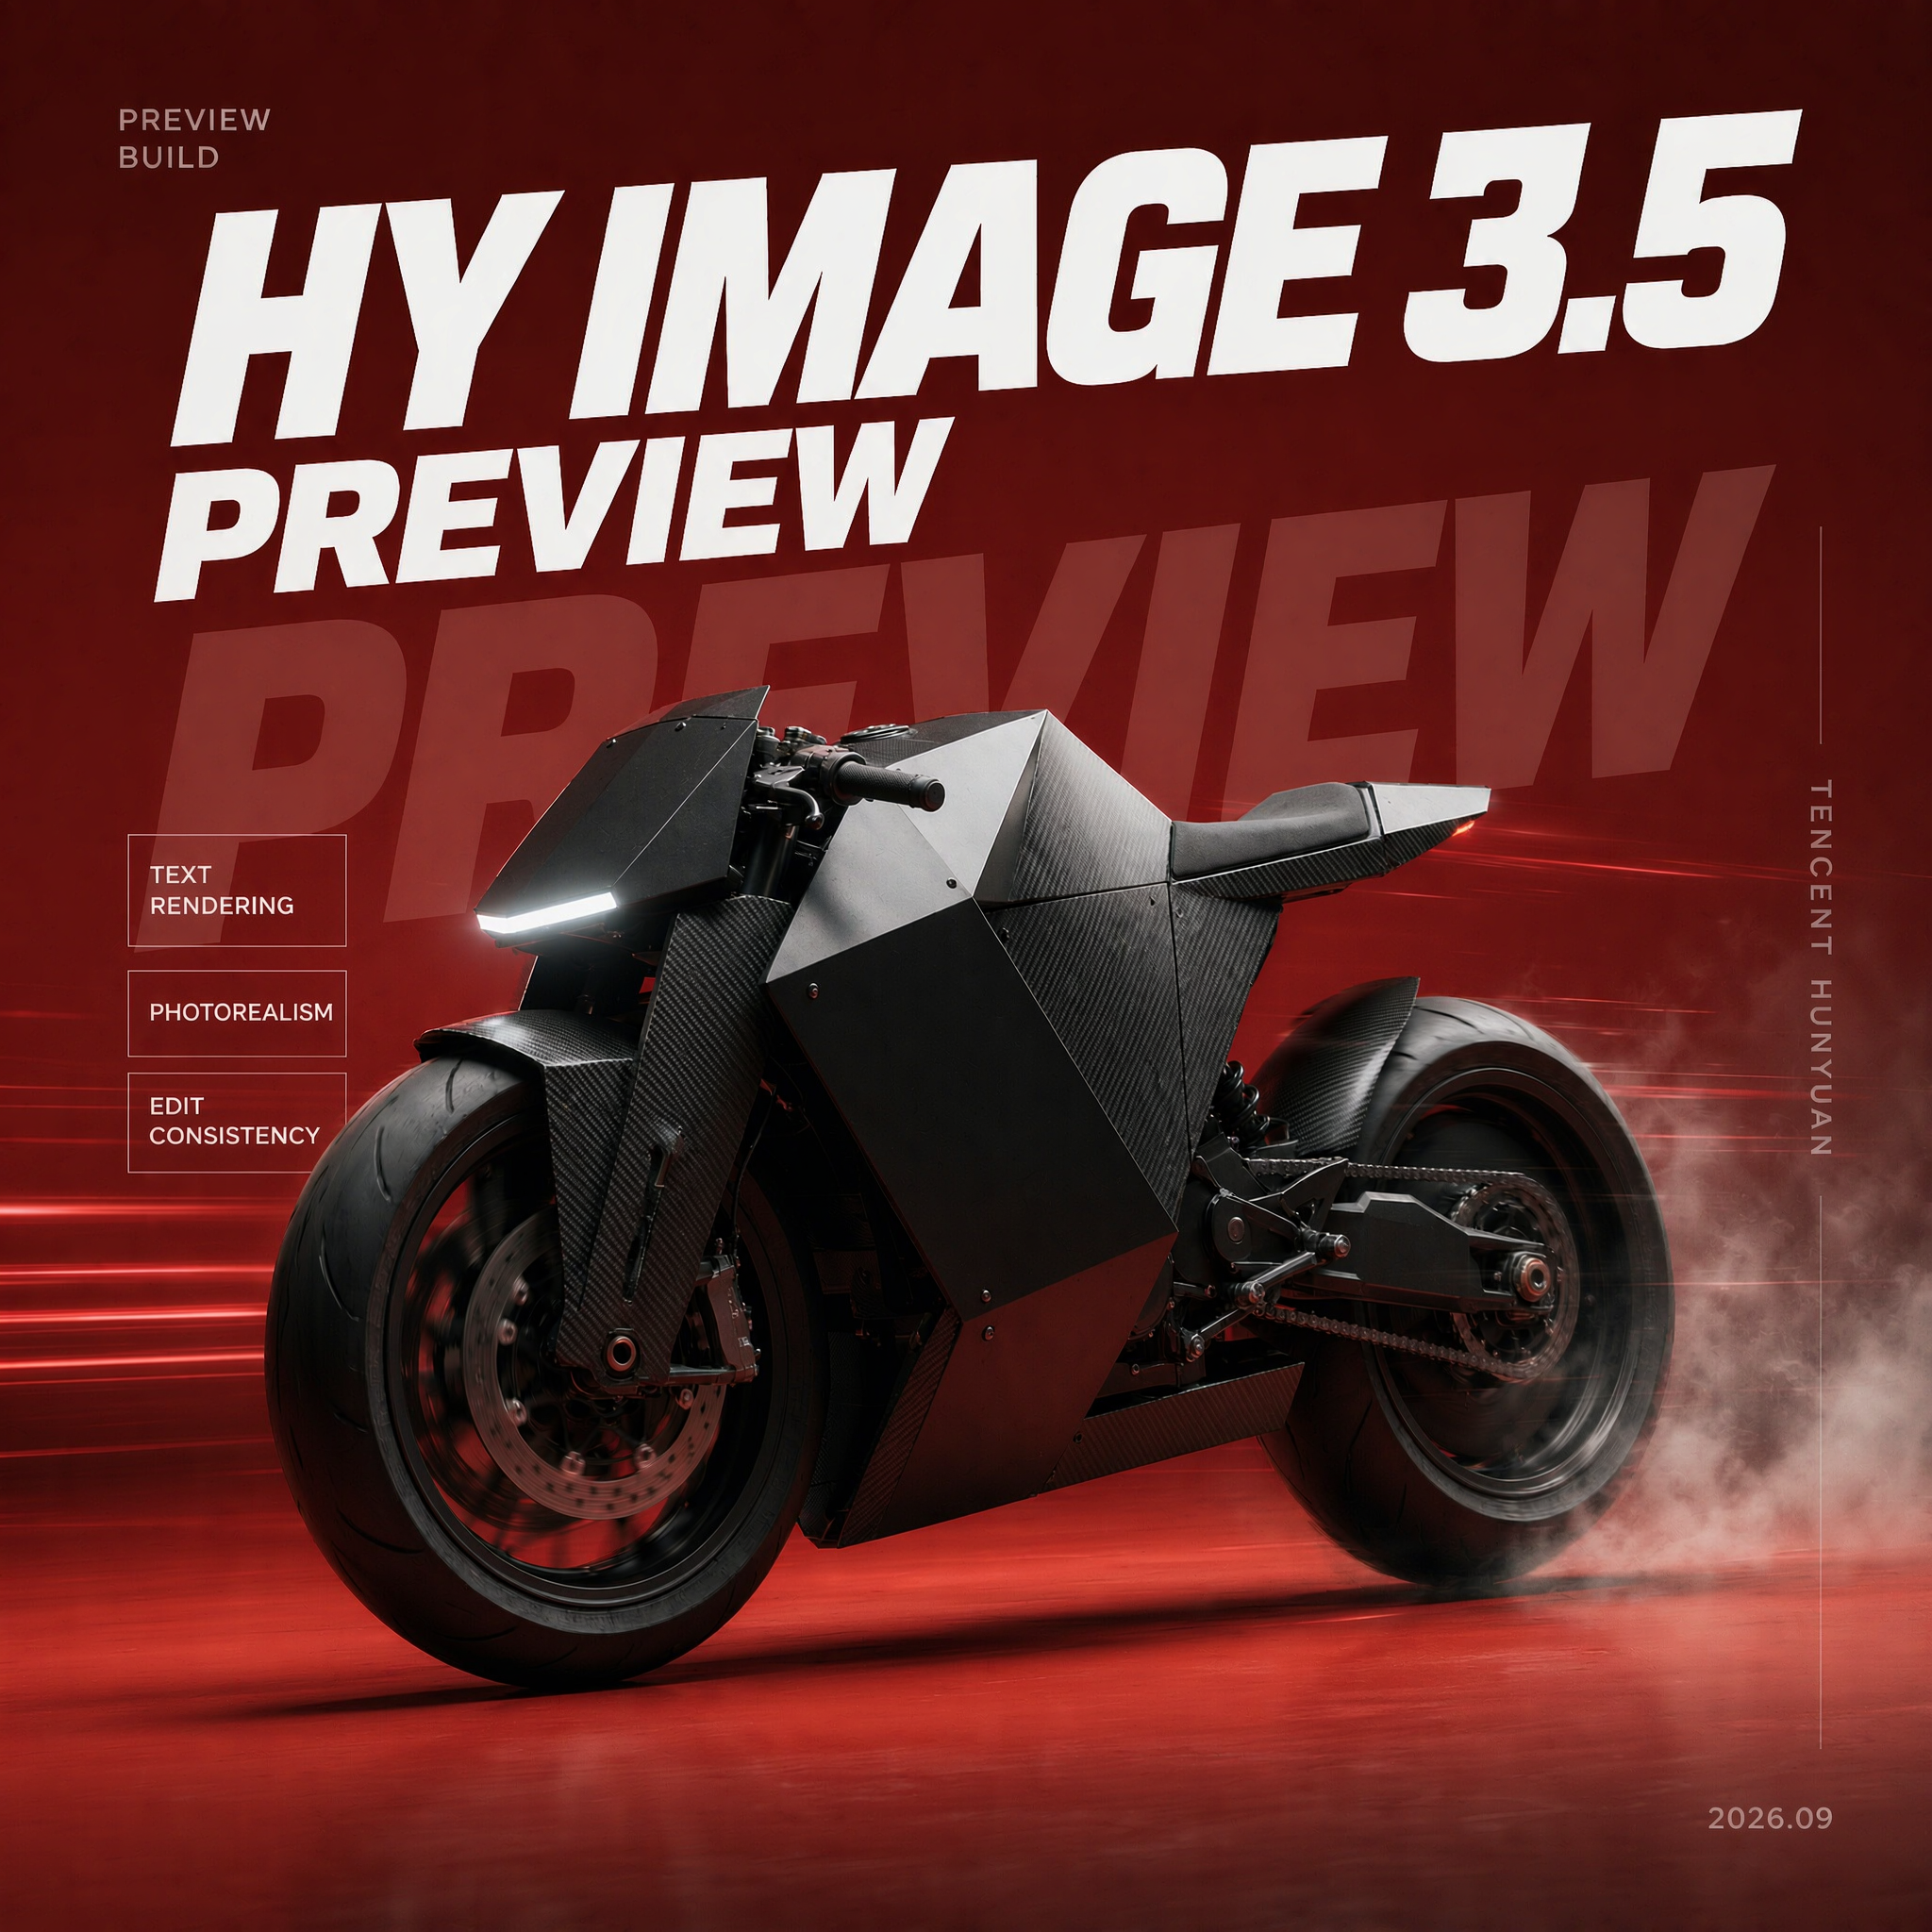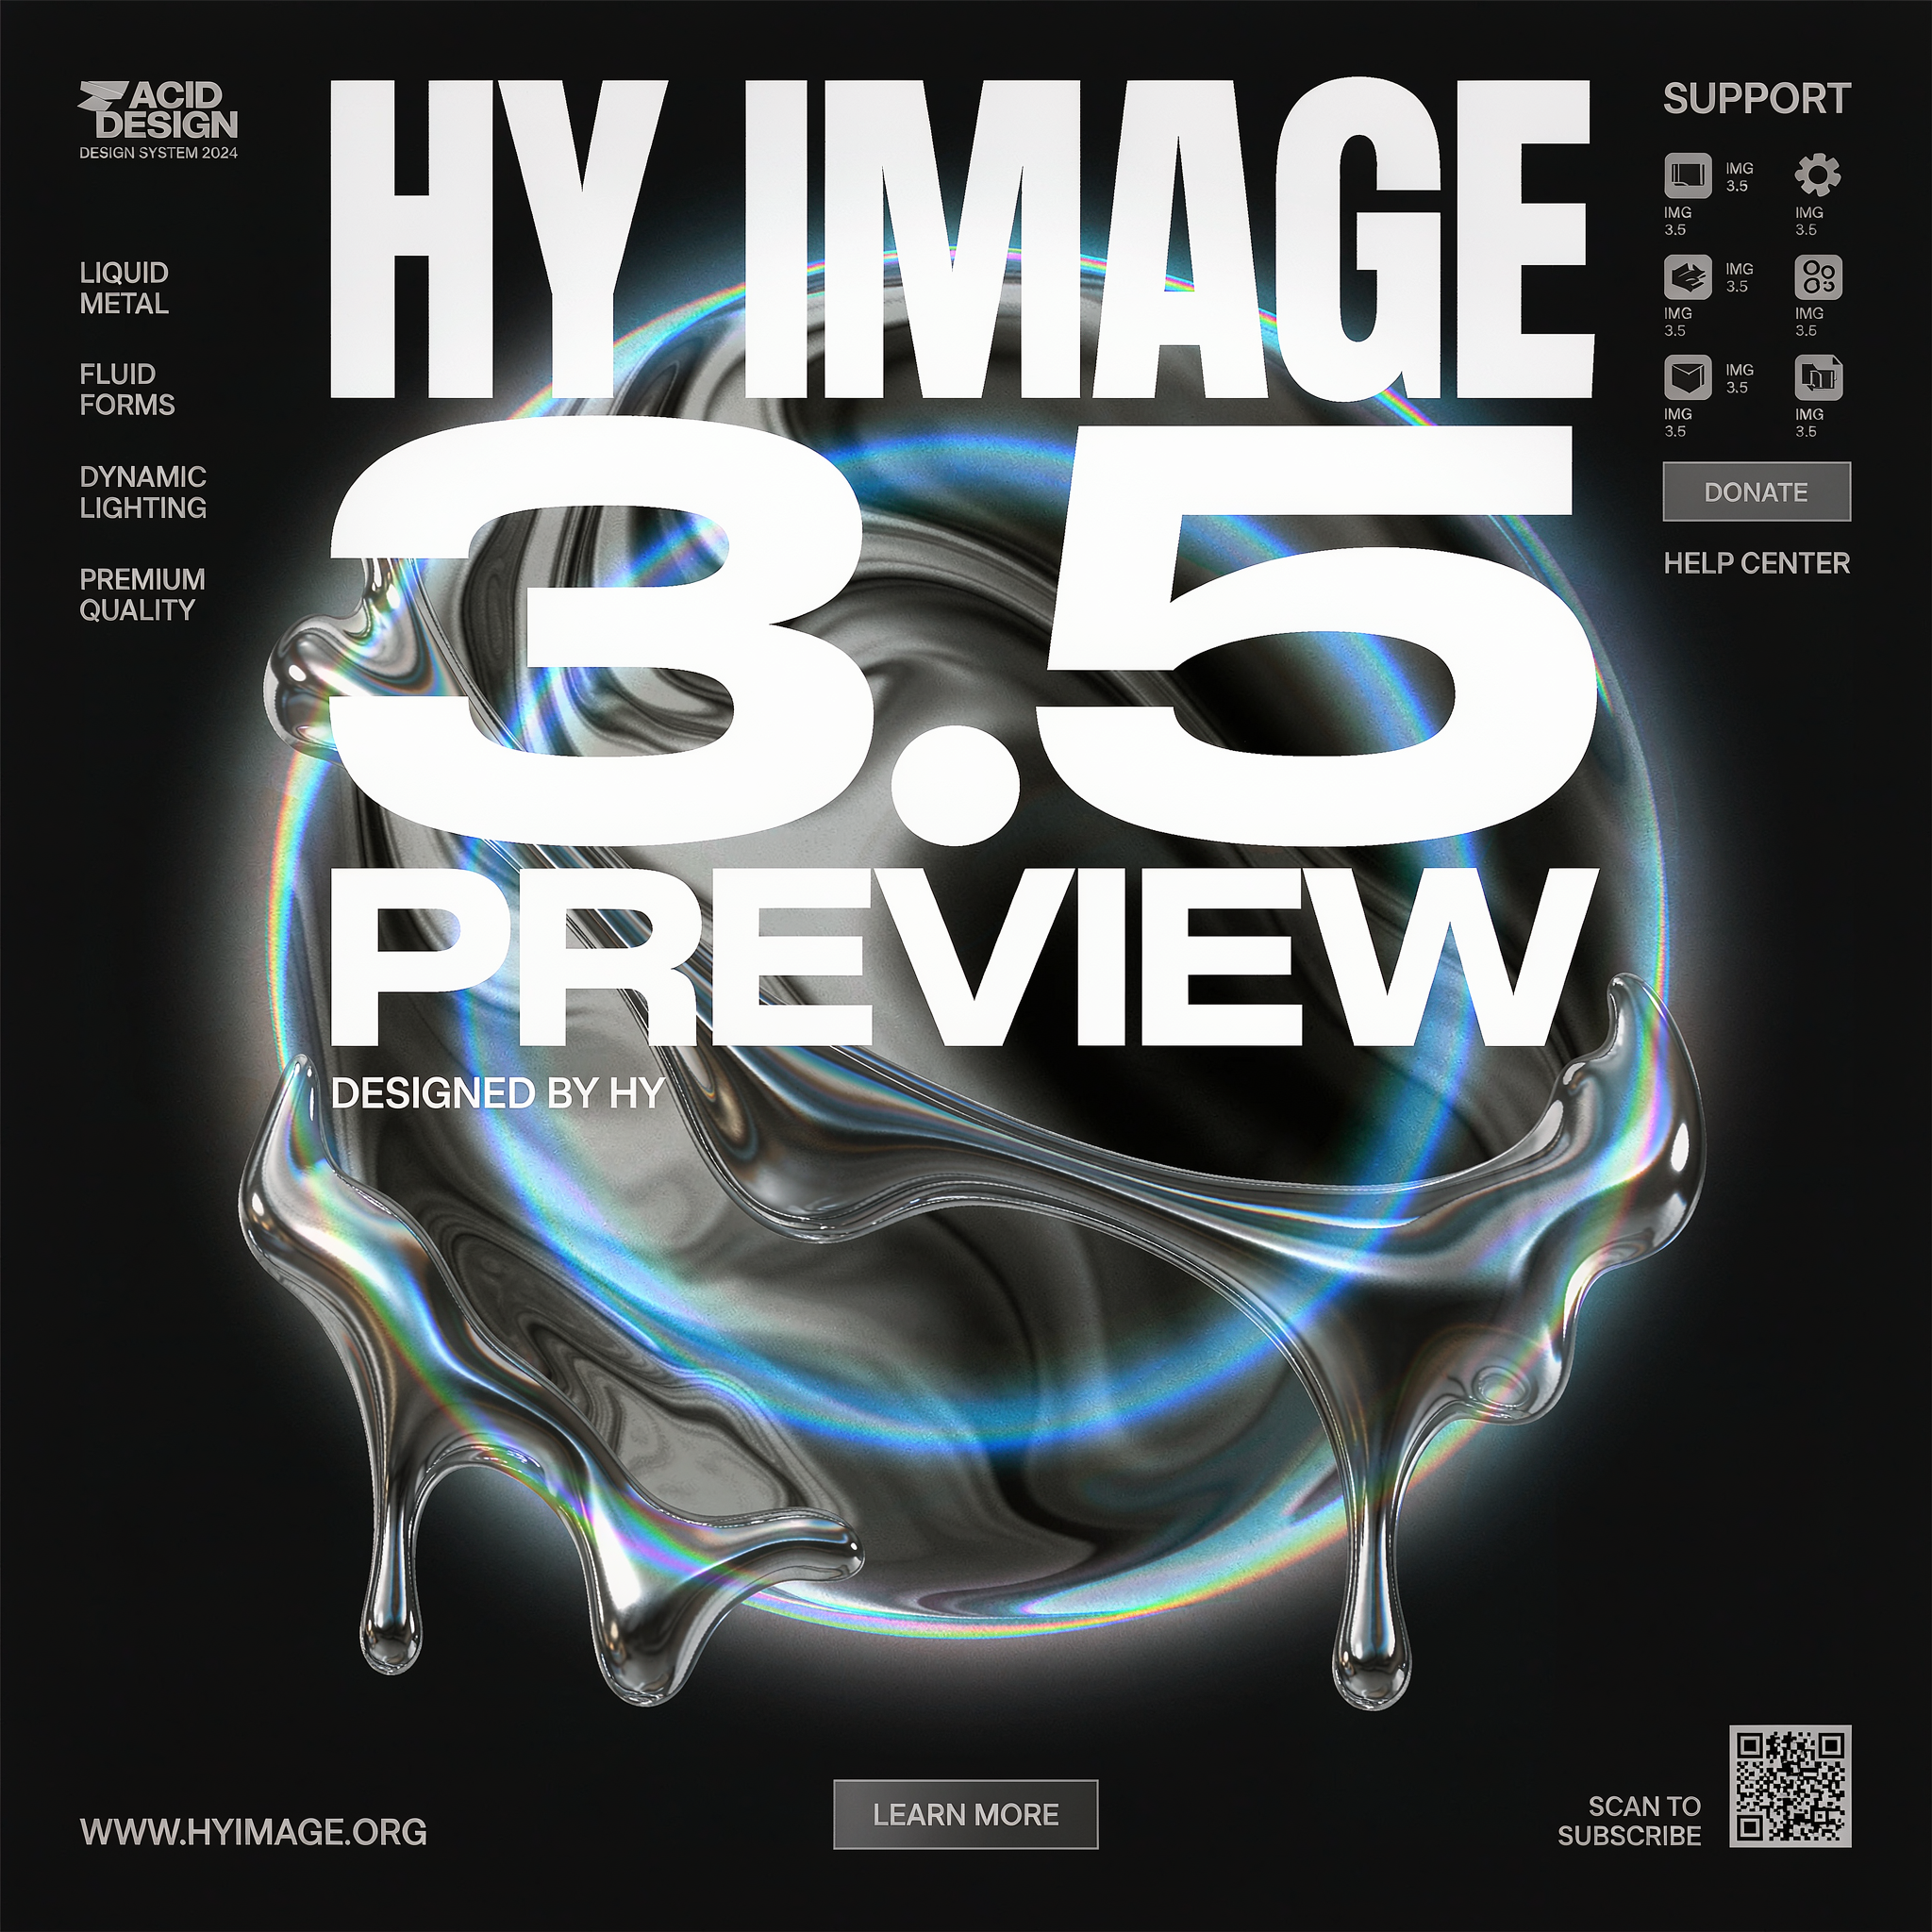
This ComfyUI tutorial shows you how to turn a single image into a gallery of 12 distinct styles using prompt-driven editing. The workflow is simple and fast: LoadImage imports your source, the image fans out to twelve GrokImageEditNodeV2 instances (each driven by a different style prompt and the Grok Imagine Quality engine), and each result is written to disk by a SaveImage node. The result is a quick style board that’s ideal for exploration, A/B testing, or presenting options to a client.
Technically, the graph duplicates the same input image across parallel branches. Each GrokImageEditNodeV2 applies the style instructions you provide (e.g., “watercolor sketch,” “cyberpunk neon,” “studio portrait retouch”) while preserving the core content and composition of the original. SaveImage nodes handle file naming and output paths so every variant is saved separately. Because each branch is independent, ComfyUI can schedule work efficiently, and the Grok Imagine Quality model is optimized for rapid, consistent edits—making it practical to generate a dozen variations in a single run.
API
Use this workflow from code
Every Comfy workflow is a JSON graph. The payload below is this workflow, exactly as ComfyUI runs it — fetch it from the URL, keep it in version control, or load it in ComfyUI and run it node by node.
Run it from TypeScript or Python with the Comfy SDK. The same code targets Comfy Cloud or a ComfyUI you host yourself — only the base URL changes.
// Install (beta)
npm i @comfyorg/sdk

// Run this workflow (TypeScript)
import { Comfy } from "@comfyorg/sdk";

const client = new Comfy({ apiKey: "comfyui-..." });
const wf = await client.workflows.fromFile("workflow_api.json");
const job = await client.run(wf);
await job.getOutputs("<output-node-id>")[0].toFile("output.png");
The SDK takes a workflow in API format: open this workflow in ComfyUI and use File → Export Workflow (API).
Comfy Cloud API access requires a plan with an API key.
FAQ