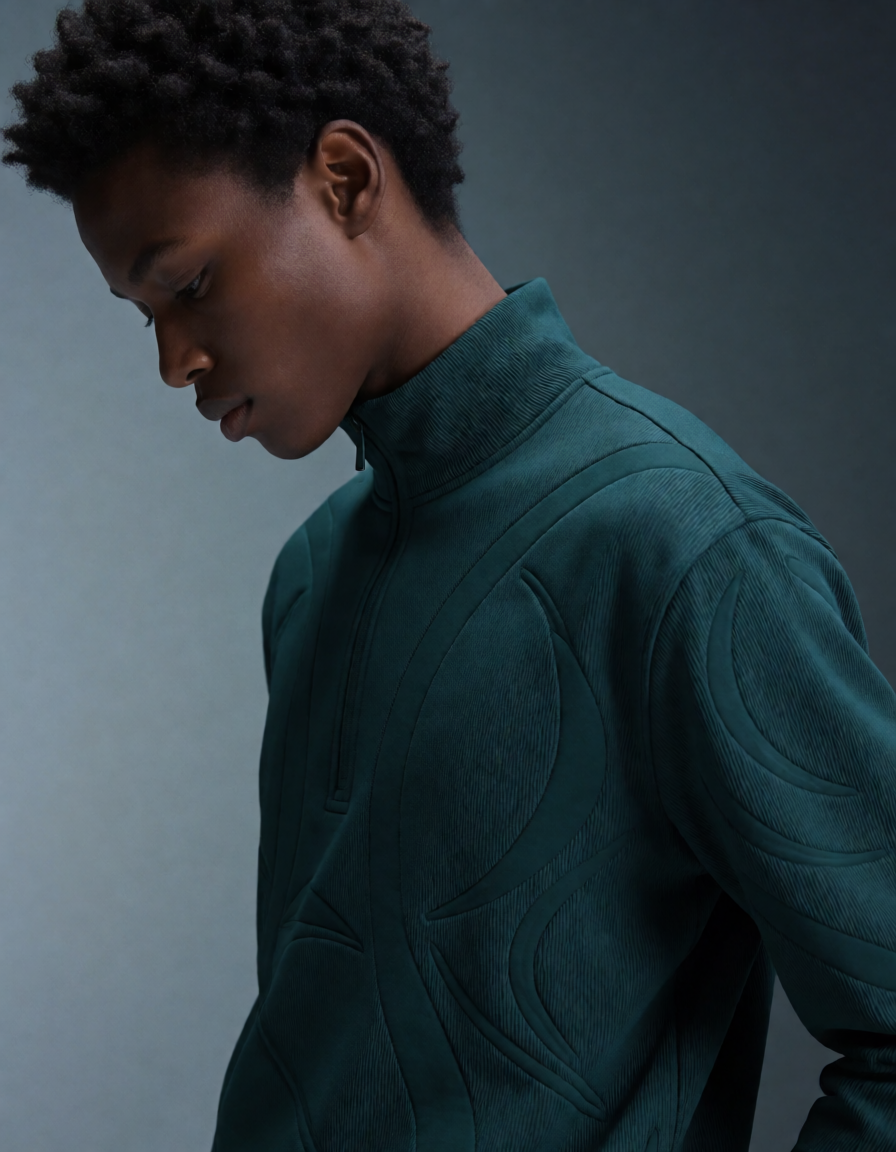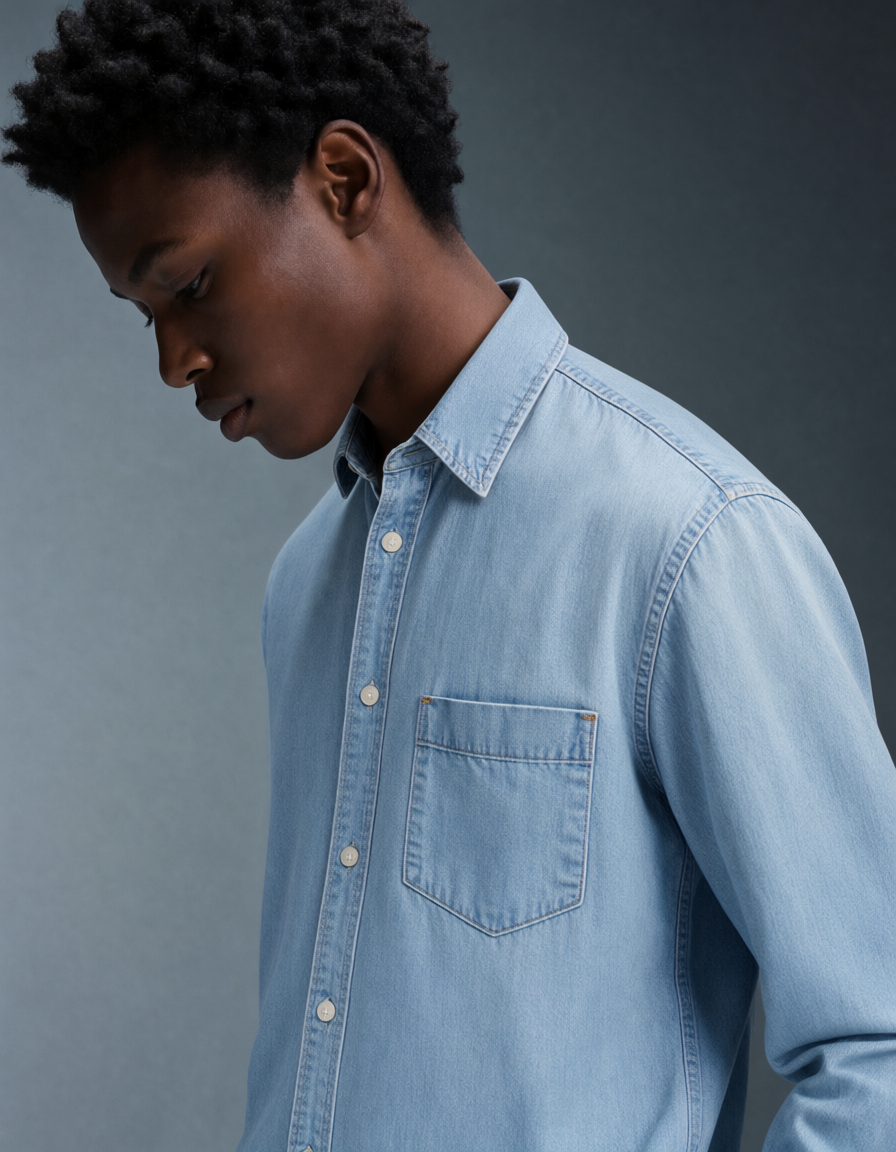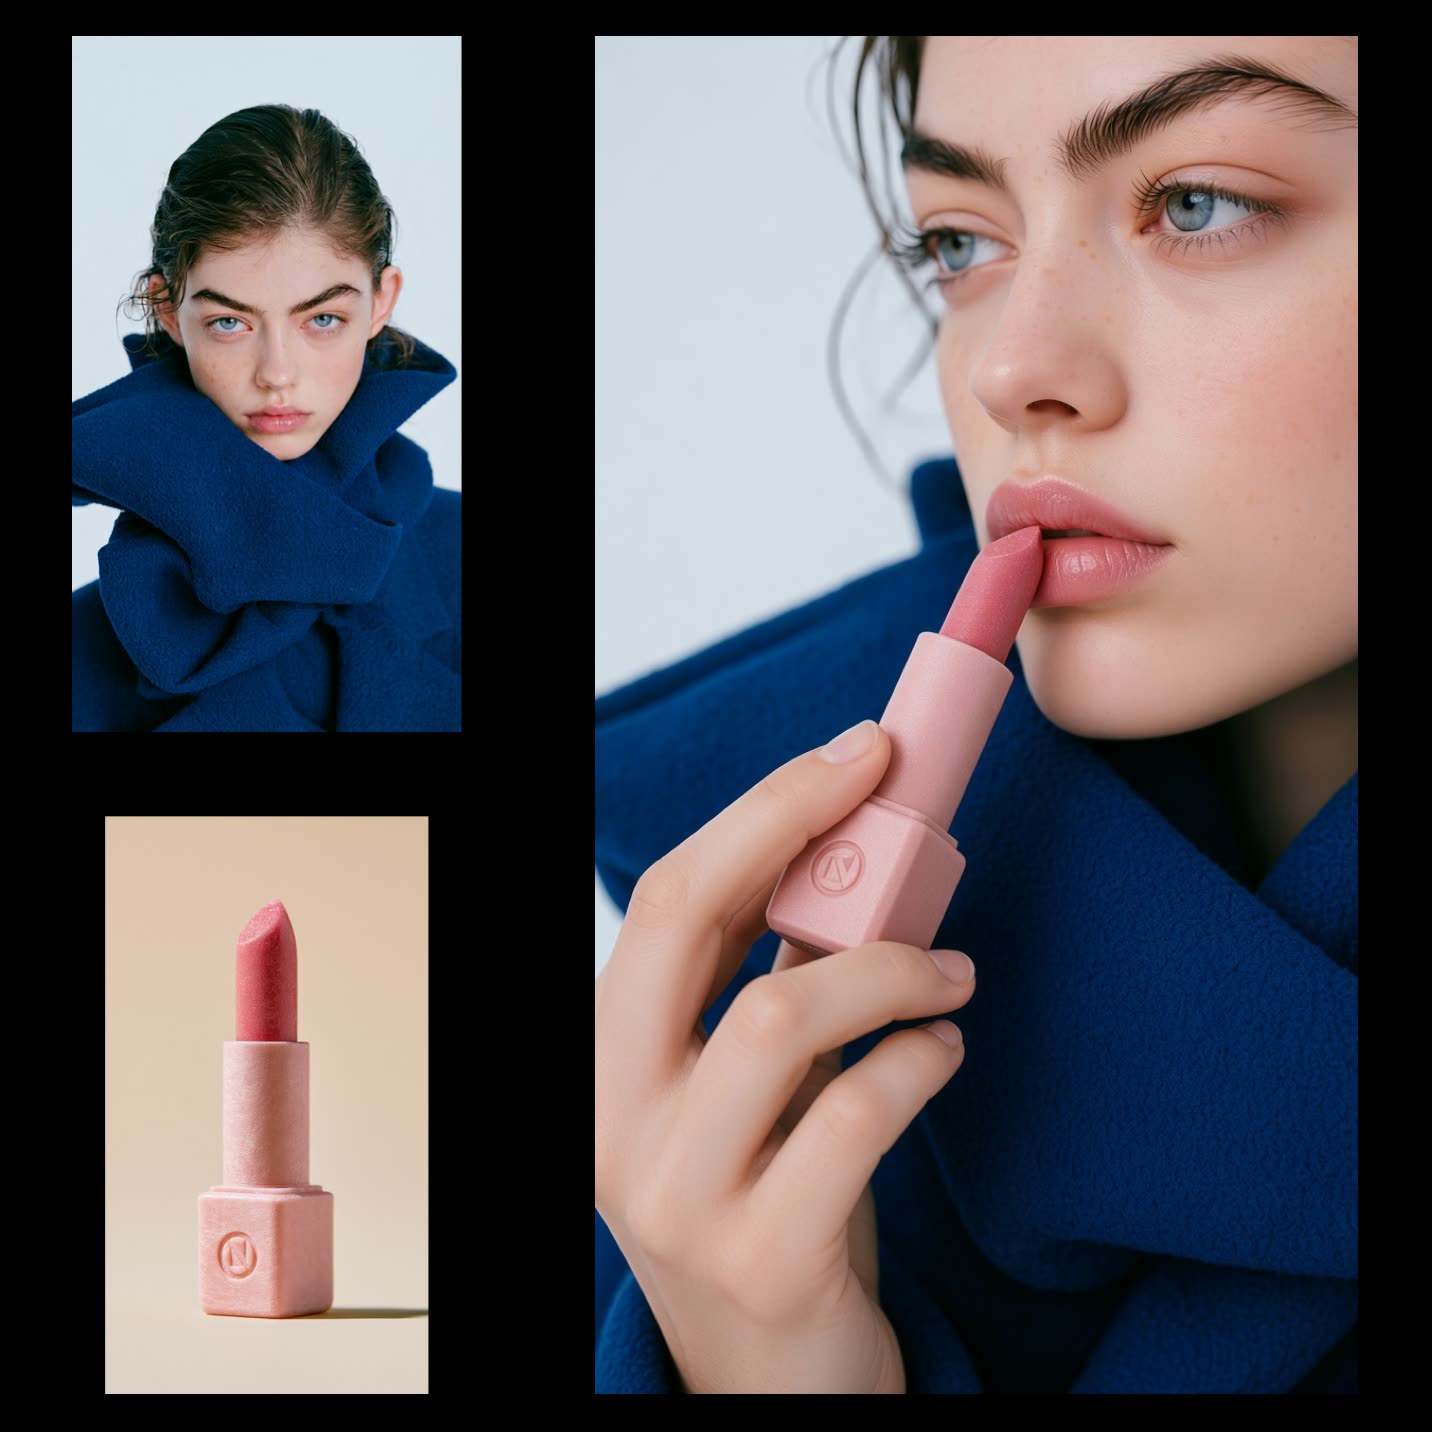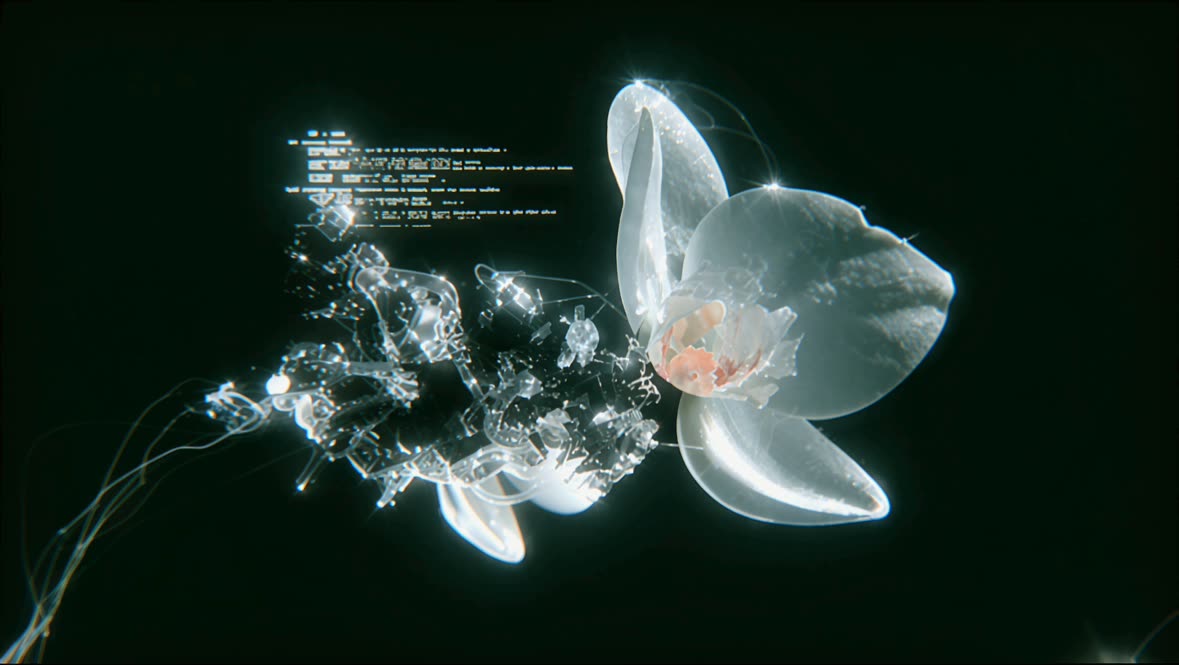
This ComfyUI tutorial workflow turns a single image into a short, lip‑synced UGC-style video with cloned or selected voice. It chains three stages: prompt creation from your uploaded image, speech synthesis with ElevenLabs, and video generation with LTX‑2.3. The Create Prompt group routes the image from LoadImage into GeminiNode to auto-generate two texts: a performance-ready speech script (with expression tags) and a scene description. RegexExtract parses the Gemini response to separate the “speech” and “scene” sections cleanly for downstream nodes.
For audio, you can pick a preset voice via ElevenLabsVoiceSelector or bring your own tone with ElevenLabsInstantVoiceClone, then synthesize the final narration in ElevenLabsTextToSpeech and optionally save it with SaveAudioMP3. The Create Video group feeds the scene description and the audio into the LTX‑2.3 video node (UUID: 98fb87e2-23b5-4ecb-aacc-365912414a12) to produce a talking-style video with accurate lip sync, previewed by PreviewAny and written with SaveVideo. This setup is practical for rapid UGC, product explainers, testimonials, or social posts because it automates script writing from an image and guarantees voice-to-lips alignment through ElevenLabs + LTX.
API
從程式碼使用此工作流
每個 Comfy 工作流都是一個 JSON 圖。下方的 payload 就是此工作流,與 ComfyUI 執行時完全相同 — 你可以從此 URL 取得、放入版本控制,或在 ComfyUI 載入並逐節點執行。
使用 Comfy SDK 以 TypeScript 或 Python 執行。相同程式碼可用於 Comfy Cloud 或你自架的 ComfyUI — 只需更改 base URL。
// Install (beta)
npm i @comfyorg/sdk

// Run "使用語音克隆產生UGC影片" (TypeScript)
import { Comfy } from "@comfyorg/sdk";

const client = new Comfy({ apiKey: "comfyui-..." });

// This workflow, exported in API format (see note below)
const wf = await client.workflows.fromFile("template_image_speech_to_video_api.json");

const asset = client.assets.fromFile("input.png");
wf.setInput("440", "image", asset);  // LoadImage

const job = await client.run(wf);
await job.getOutputs("445")[0].toFile("output.png");  // SaveAudioMP3
SDK 需使用 API 格式的工作流:請在 ComfyUI 開啟此工作流,並使用 檔案 → 匯出工作流(API)。
常見問題