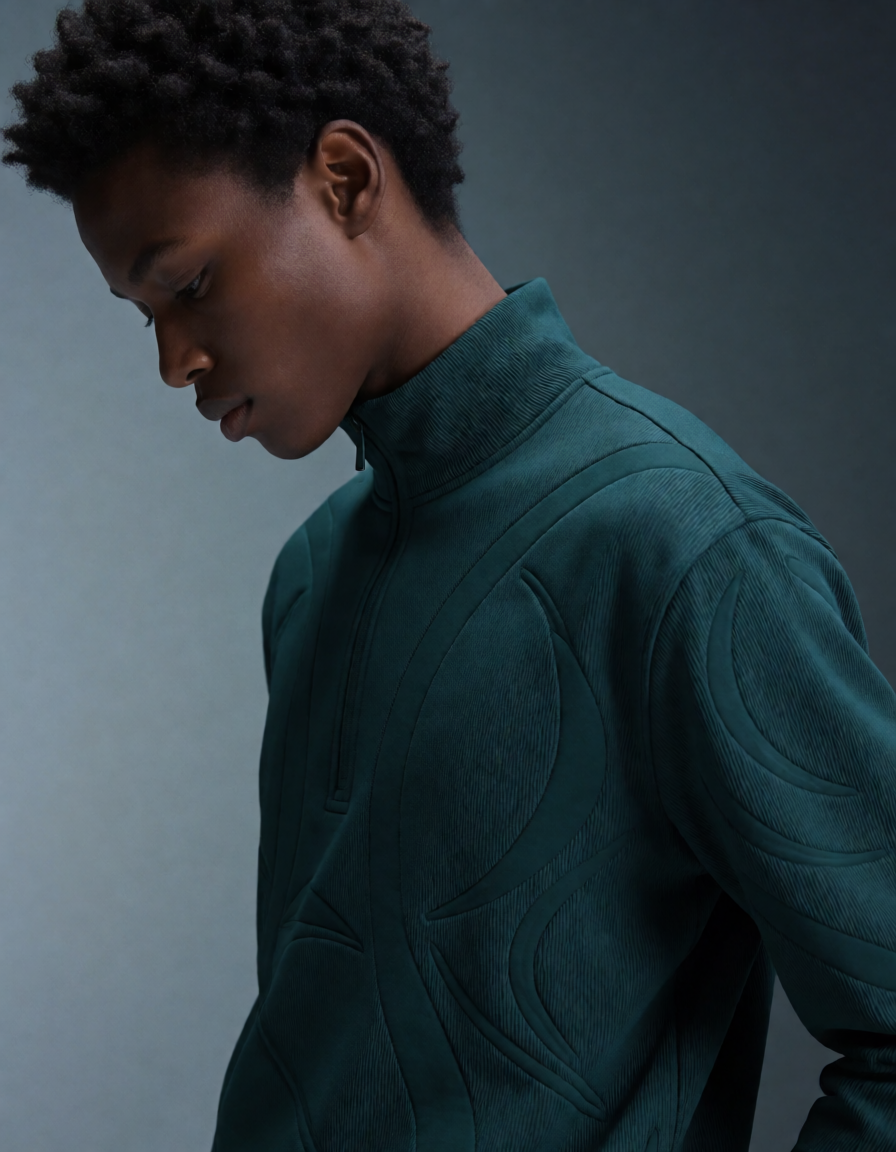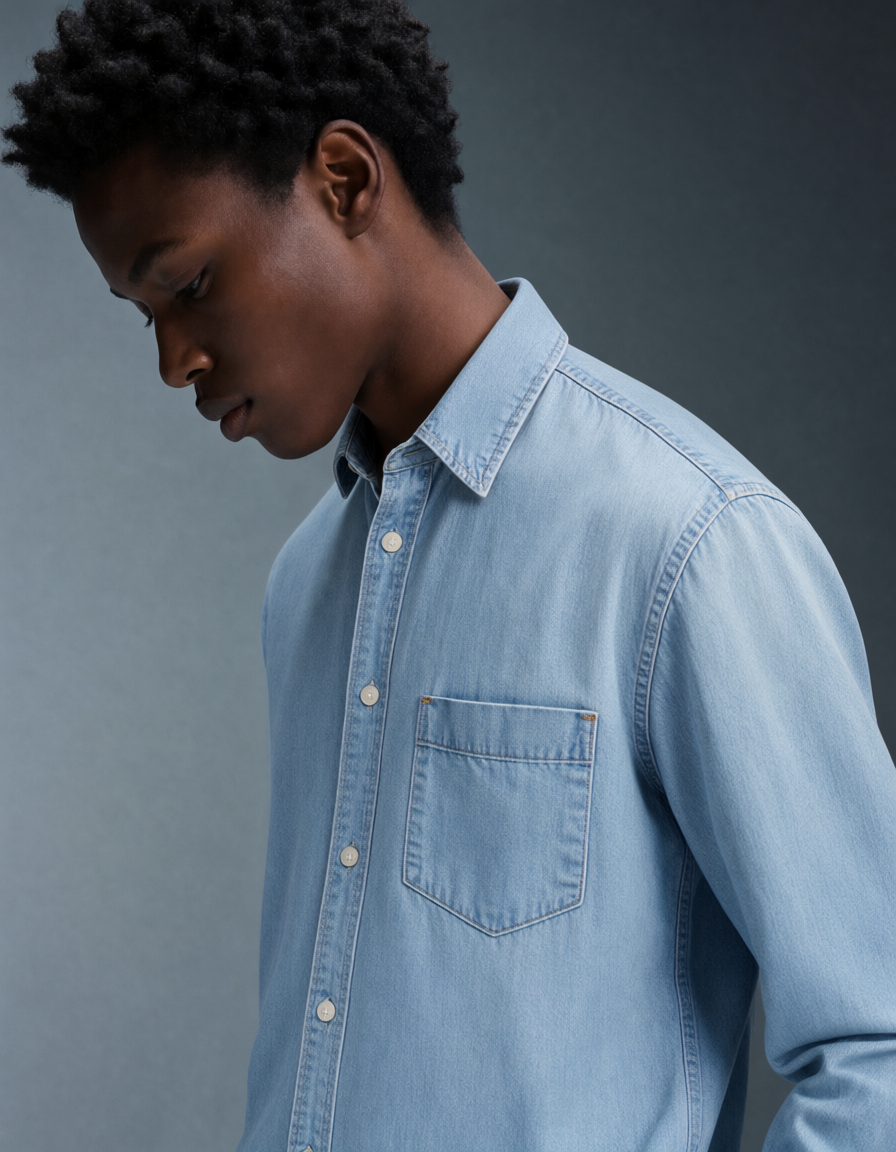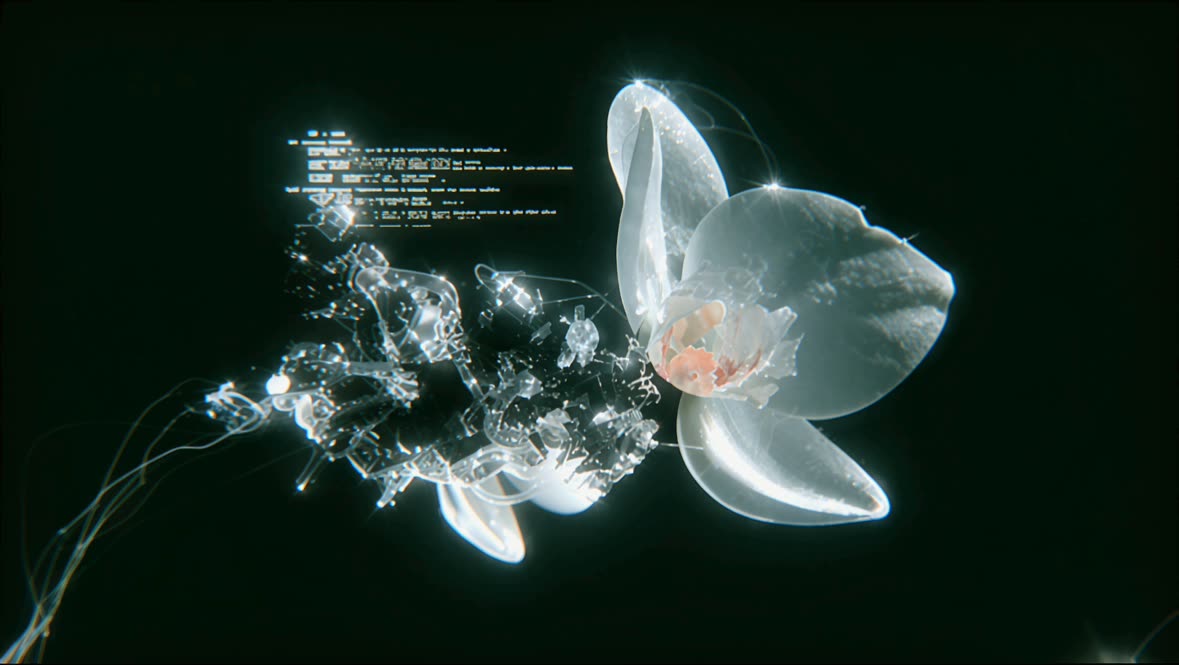

This ComfyUI tutorial workflow turns a single image into a high‑fidelity 3D asset using Meshy 7.1’s Ultra 4K geometry mode. Starting with LoadImage, your reference photo flows into MeshyImageToModelNode, which requests a dense reconstruction at Ultra 4K (4096³) so fine surface detail—like stitching, wood grain, or scales—becomes real mesh geometry, not just texture. The result is a detailed, production‑ready model ideal for props, products, and hero assets where close‑up fidelity matters.
After the base mesh is generated, the pipeline branches into post steps: MeshyRefineNode for cleanup/topology polishing, MeshyTextureNode for PBR texturing, and optional rigging/animation via MeshyRigModelNode and MeshyAnimateModelNode. Save3DAdvanced wraps up the process by exporting to formats like GLB/GLTF, OBJ, or FBX with control over scale and axis. The Meshy Toolset group (enable it with Ctrl+B) keeps the workflow modular—run only the nodes you need, skip what you don’t, and iterate quickly from one reference image to a polished 3D asset.
API
このワークフローをコードから利用
すべてのComfyワークフローはJSONグラフです。以下のペイロードは、このワークフローそのものであり、ComfyUIが実行する内容と同じです — このURLから取得し、バージョン管理に保存したり、ComfyUIで読み込んでノードごとに実行できます。
Comfy SDKを使ってTypeScriptまたはPythonから実行できます。同じコードでComfy Cloudや自身でホストしたComfyUIのどちらにも対応 — ベースURLだけが異なります。
// Install (beta)
npm i @comfyorg/sdk

// Run this workflow (TypeScript)
import { Comfy } from "@comfyorg/sdk";

const client = new Comfy({ apiKey: "comfyui-..." });
const wf = await client.workflows.fromFile("workflow_api.json");
const job = await client.run(wf);
await job.getOutputs("<output-node-id>")[0].toFile("output.png");
SDKはAPI形式のワークフローを受け取ります:このワークフローをComfyUIで開き、「ファイル → ワークフローをエクスポート(API)」を使用してください。