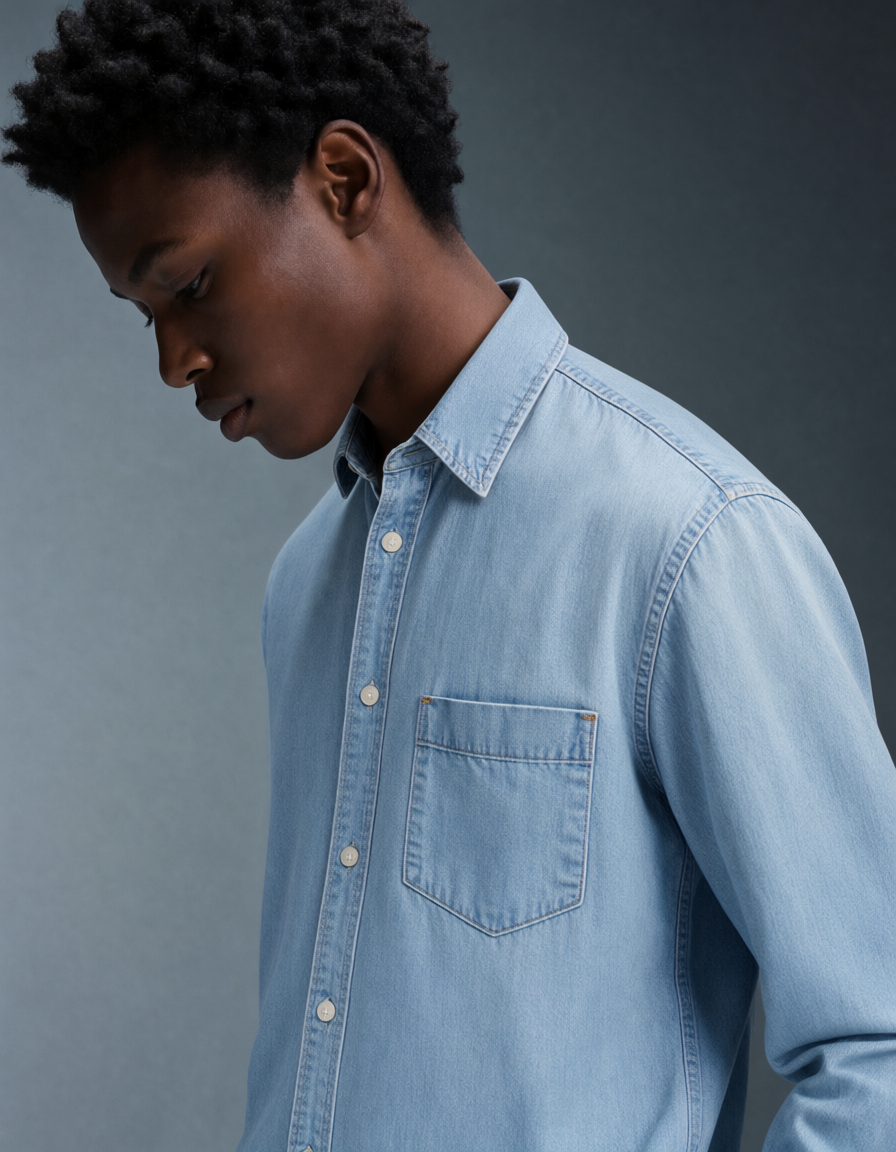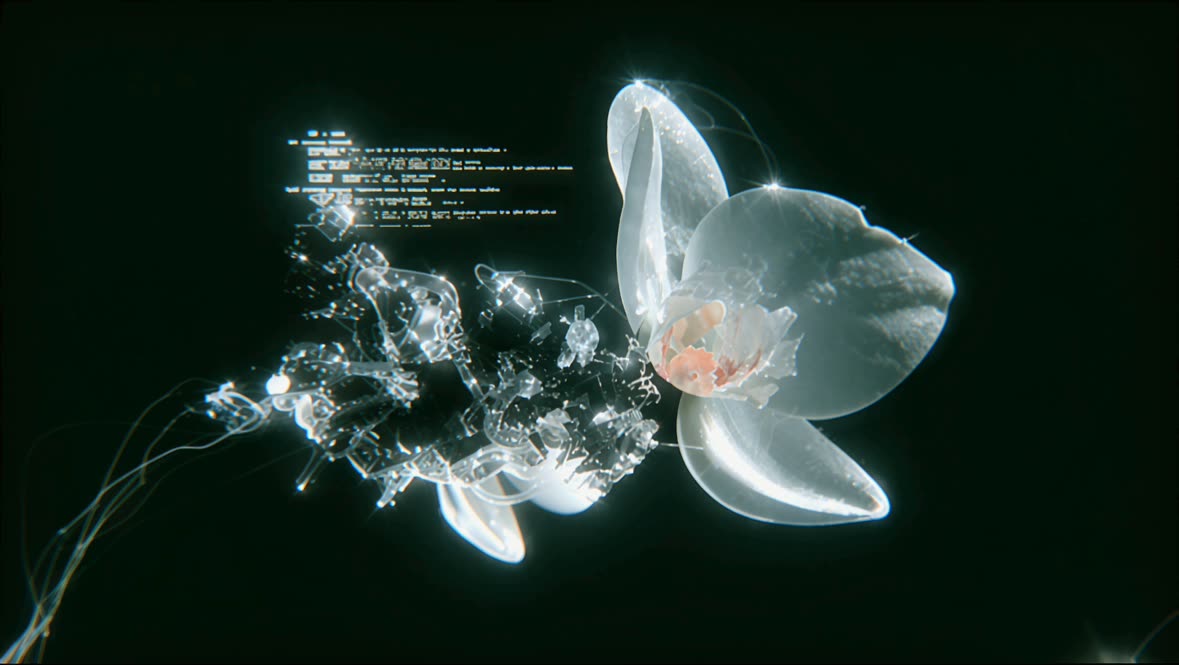

This ComfyUI tutorial workflow turns a single image into a high‑fidelity 3D asset using Meshy 7.1’s Ultra 4K geometry mode. Starting with LoadImage, your reference photo flows into MeshyImageToModelNode, which requests a dense reconstruction at Ultra 4K (4096³) so fine surface detail—like stitching, wood grain, or scales—becomes real mesh geometry, not just texture. The result is a detailed, production‑ready model ideal for props, products, and hero assets where close‑up fidelity matters.
After the base mesh is generated, the pipeline branches into post steps: MeshyRefineNode for cleanup/topology polishing, MeshyTextureNode for PBR texturing, and optional rigging/animation via MeshyRigModelNode and MeshyAnimateModelNode. Save3DAdvanced wraps up the process by exporting to formats like GLB/GLTF, OBJ, or FBX with control over scale and axis. The Meshy Toolset group (enable it with Ctrl+B) keeps the workflow modular—run only the nodes you need, skip what you don’t, and iterate quickly from one reference image to a polished 3D asset.
API
코드에서 이 워크플로우 사용하기
모든 Comfy 워크플로우는 JSON 그래프입니다. 아래 페이로드는 이 워크플로우 그 자체로, ComfyUI에서 실행되는 것과 동일합니다 — URL에서 가져오거나, 버전 관리에 보관하거나, ComfyUI에서 불러와 노드별로 실행할 수 있습니다.
Comfy SDK로 TypeScript 또는 Python에서 실행하세요. 동일한 코드는 Comfy Cloud 또는 직접 호스팅하는 ComfyUI 모두에 적용됩니다 — 기본 URL만 다릅니다.
// Install (beta)
npm i @comfyorg/sdk

// Run this workflow (TypeScript)
import { Comfy } from "@comfyorg/sdk";

const client = new Comfy({ apiKey: "comfyui-..." });
const wf = await client.workflows.fromFile("workflow_api.json");
const job = await client.run(wf);
await job.getOutputs("<output-node-id>")[0].toFile("output.png");
SDK는 API 형식의 워크플로우를 사용합니다: 이 워크플로우를 ComfyUI에서 열고 파일 → 워크플로우 내보내기(API)를 사용하세요.