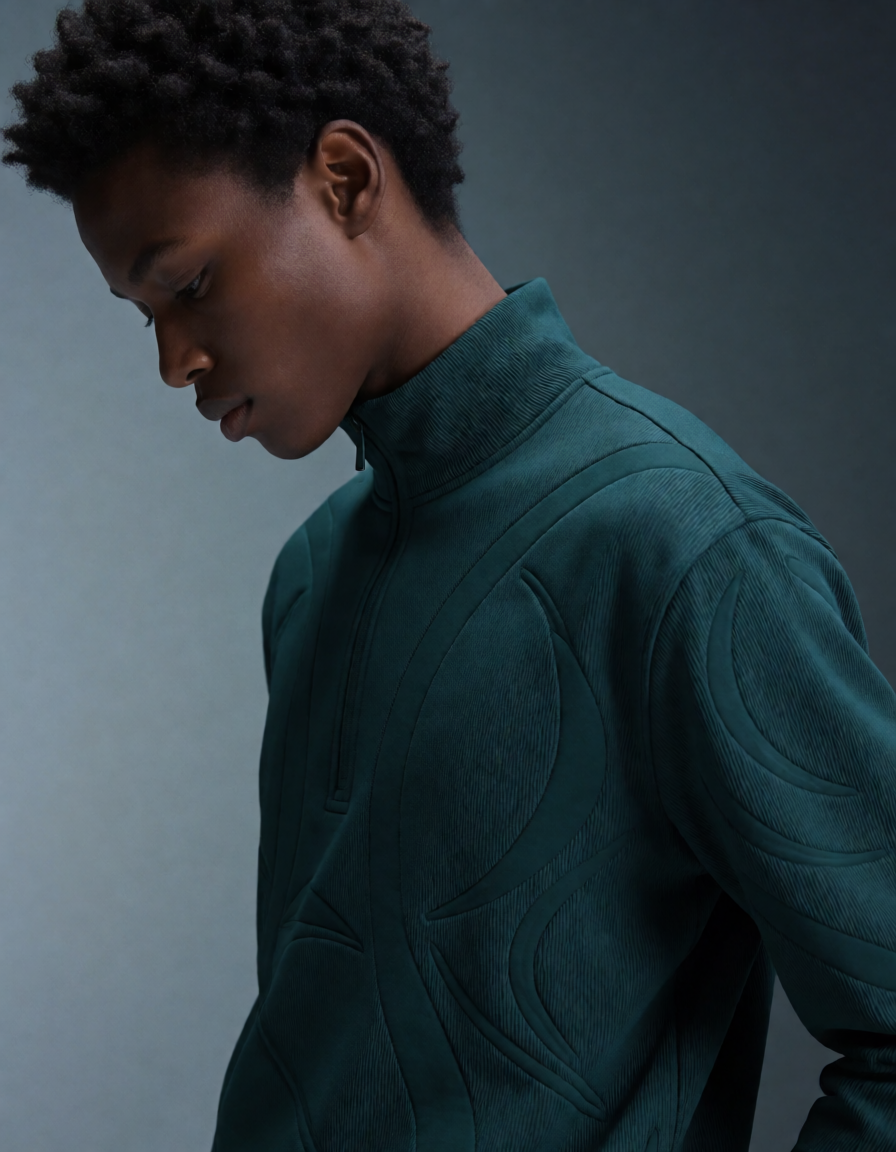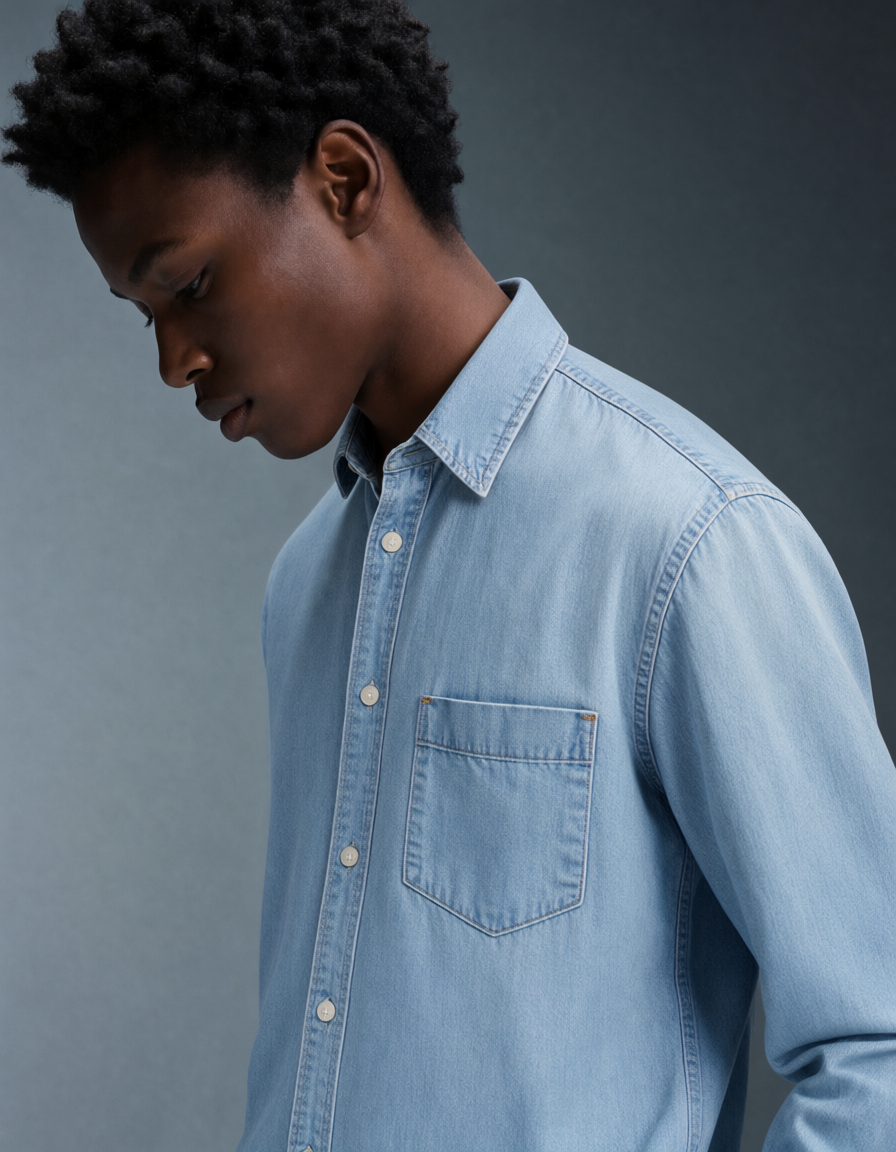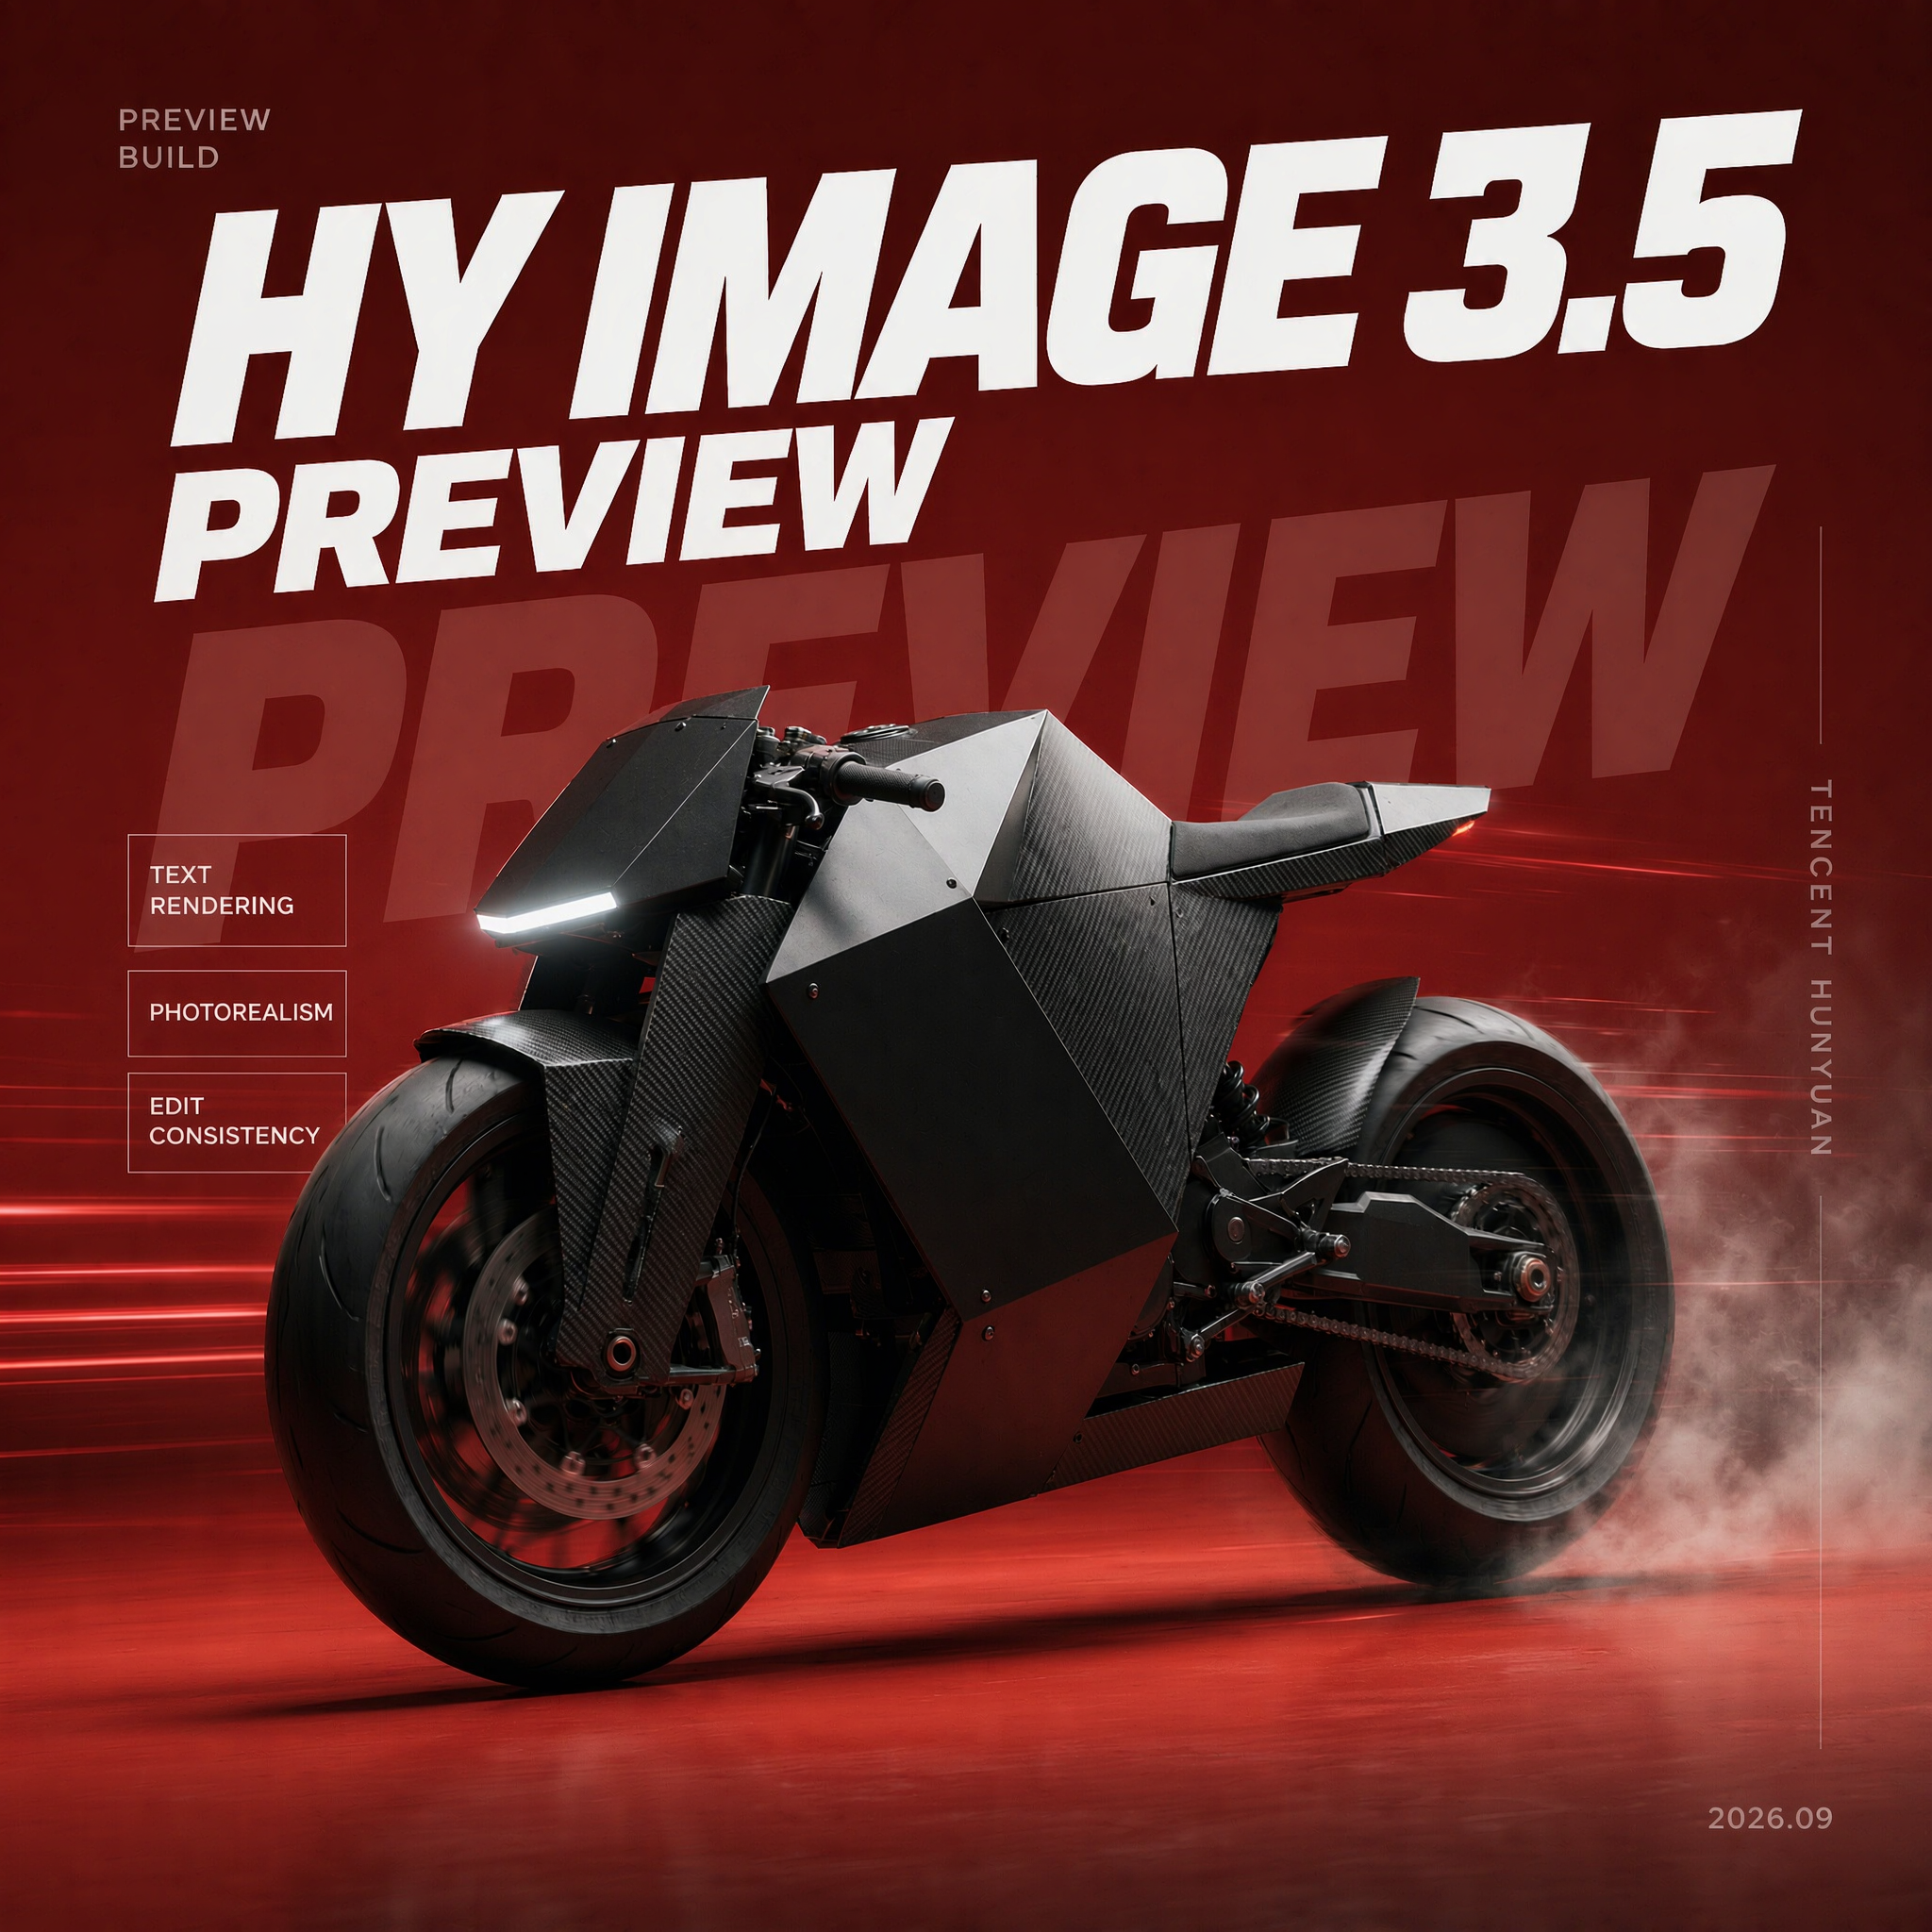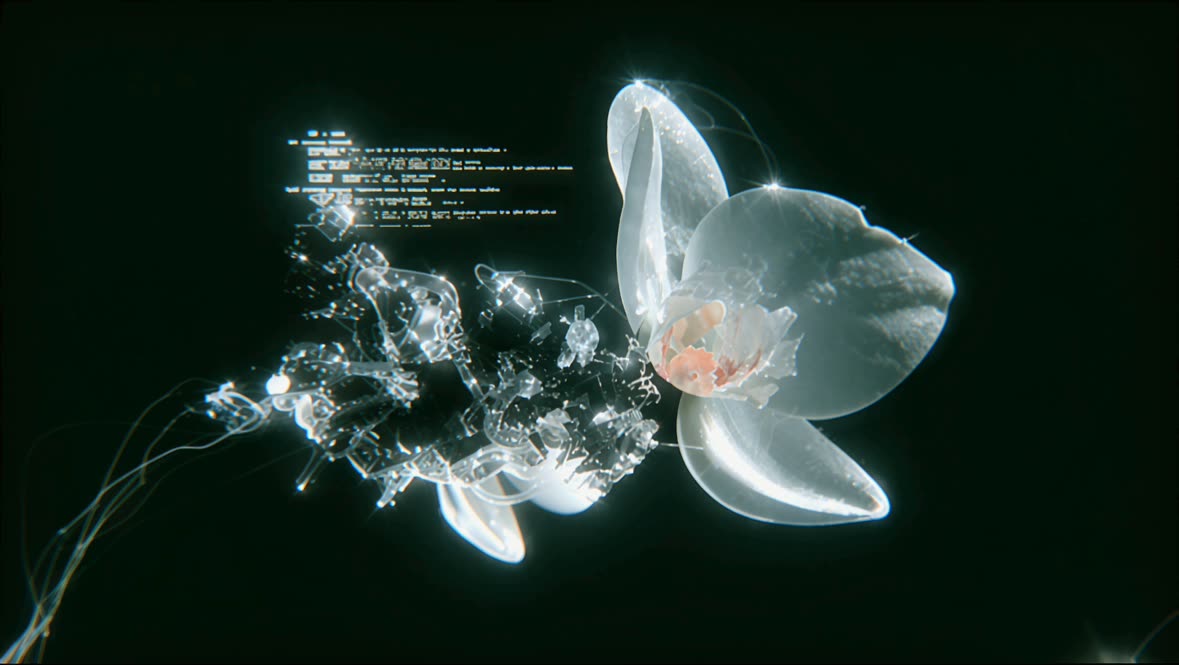

This ComfyUI tutorial workflow shows you how to cleanly upscale a single image using Bria’s dedicated resolution enhancement API. The core BriaIncreaseResolution node takes an input from LoadImage, sends it to the Bria API, and returns a higher-resolution version that preserves the original content without inventing new details or regenerating the scene. It supports JPEG and PNG inputs in RGB, RGBA, or CMYK color modes, and enforces a maximum area of 8192×8192 pixels to keep processing fast and reliable. Built-in content moderation checks both the input and the enhanced output for policy compliance before finalizing results.
Technically, the graph is straightforward and focused: LoadImage feeds your source into BriaIncreaseResolution, where you specify your target dimensions or scale within the allowed limits. ImageCompare then places the original and the upscaled image side-by-side so you can evaluate edge fidelity, text clarity, and fine textures at a glance. Finally, SaveImageAdvanced writes the enhanced output with your preferred filename, folder, and format (PNG for lossless graphics and text, JPEG for smaller photo files), making it a practical tool for print prep, large digital displays, and professional design workflows that need reliable resolution increases without stylistic changes.
API
코드에서 이 워크플로우 사용하기
모든 Comfy 워크플로우는 JSON 그래프입니다. 아래 페이로드는 이 워크플로우 그 자체로, ComfyUI에서 실행되는 것과 동일합니다 — URL에서 가져오거나, 버전 관리에 보관하거나, ComfyUI에서 불러와 노드별로 실행할 수 있습니다.
Comfy SDK로 TypeScript 또는 Python에서 실행하세요. 동일한 코드는 Comfy Cloud 또는 직접 호스팅하는 ComfyUI 모두에 적용됩니다 — 기본 URL만 다릅니다.
// Install (beta)
npm i @comfyorg/sdk

// Run this workflow (TypeScript)
import { Comfy } from "@comfyorg/sdk";

const client = new Comfy({ apiKey: "comfyui-..." });
const wf = await client.workflows.fromFile("workflow_api.json");
const job = await client.run(wf);
await job.getOutputs("<output-node-id>")[0].toFile("output.png");
SDK는 API 형식의 워크플로우를 사용합니다: 이 워크플로우를 ComfyUI에서 열고 파일 → 워크플로우 내보내기(API)를 사용하세요.