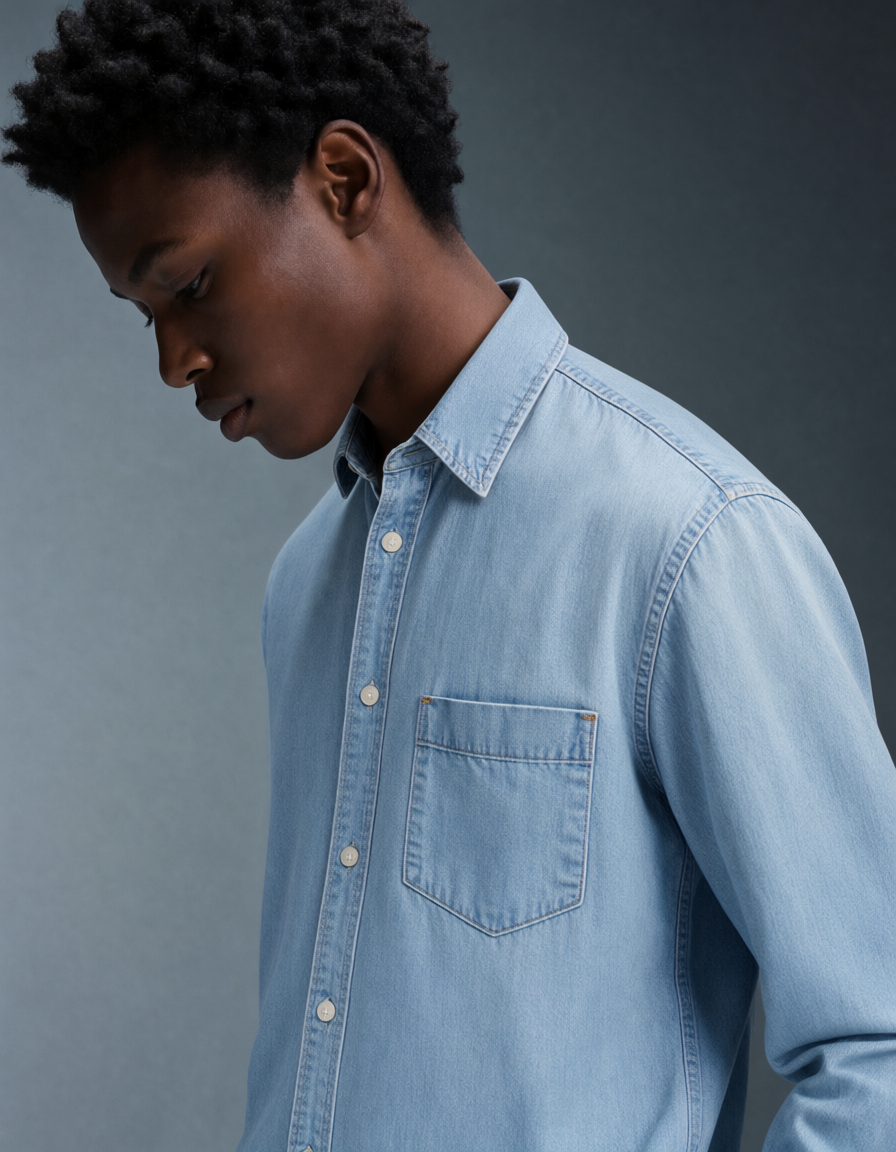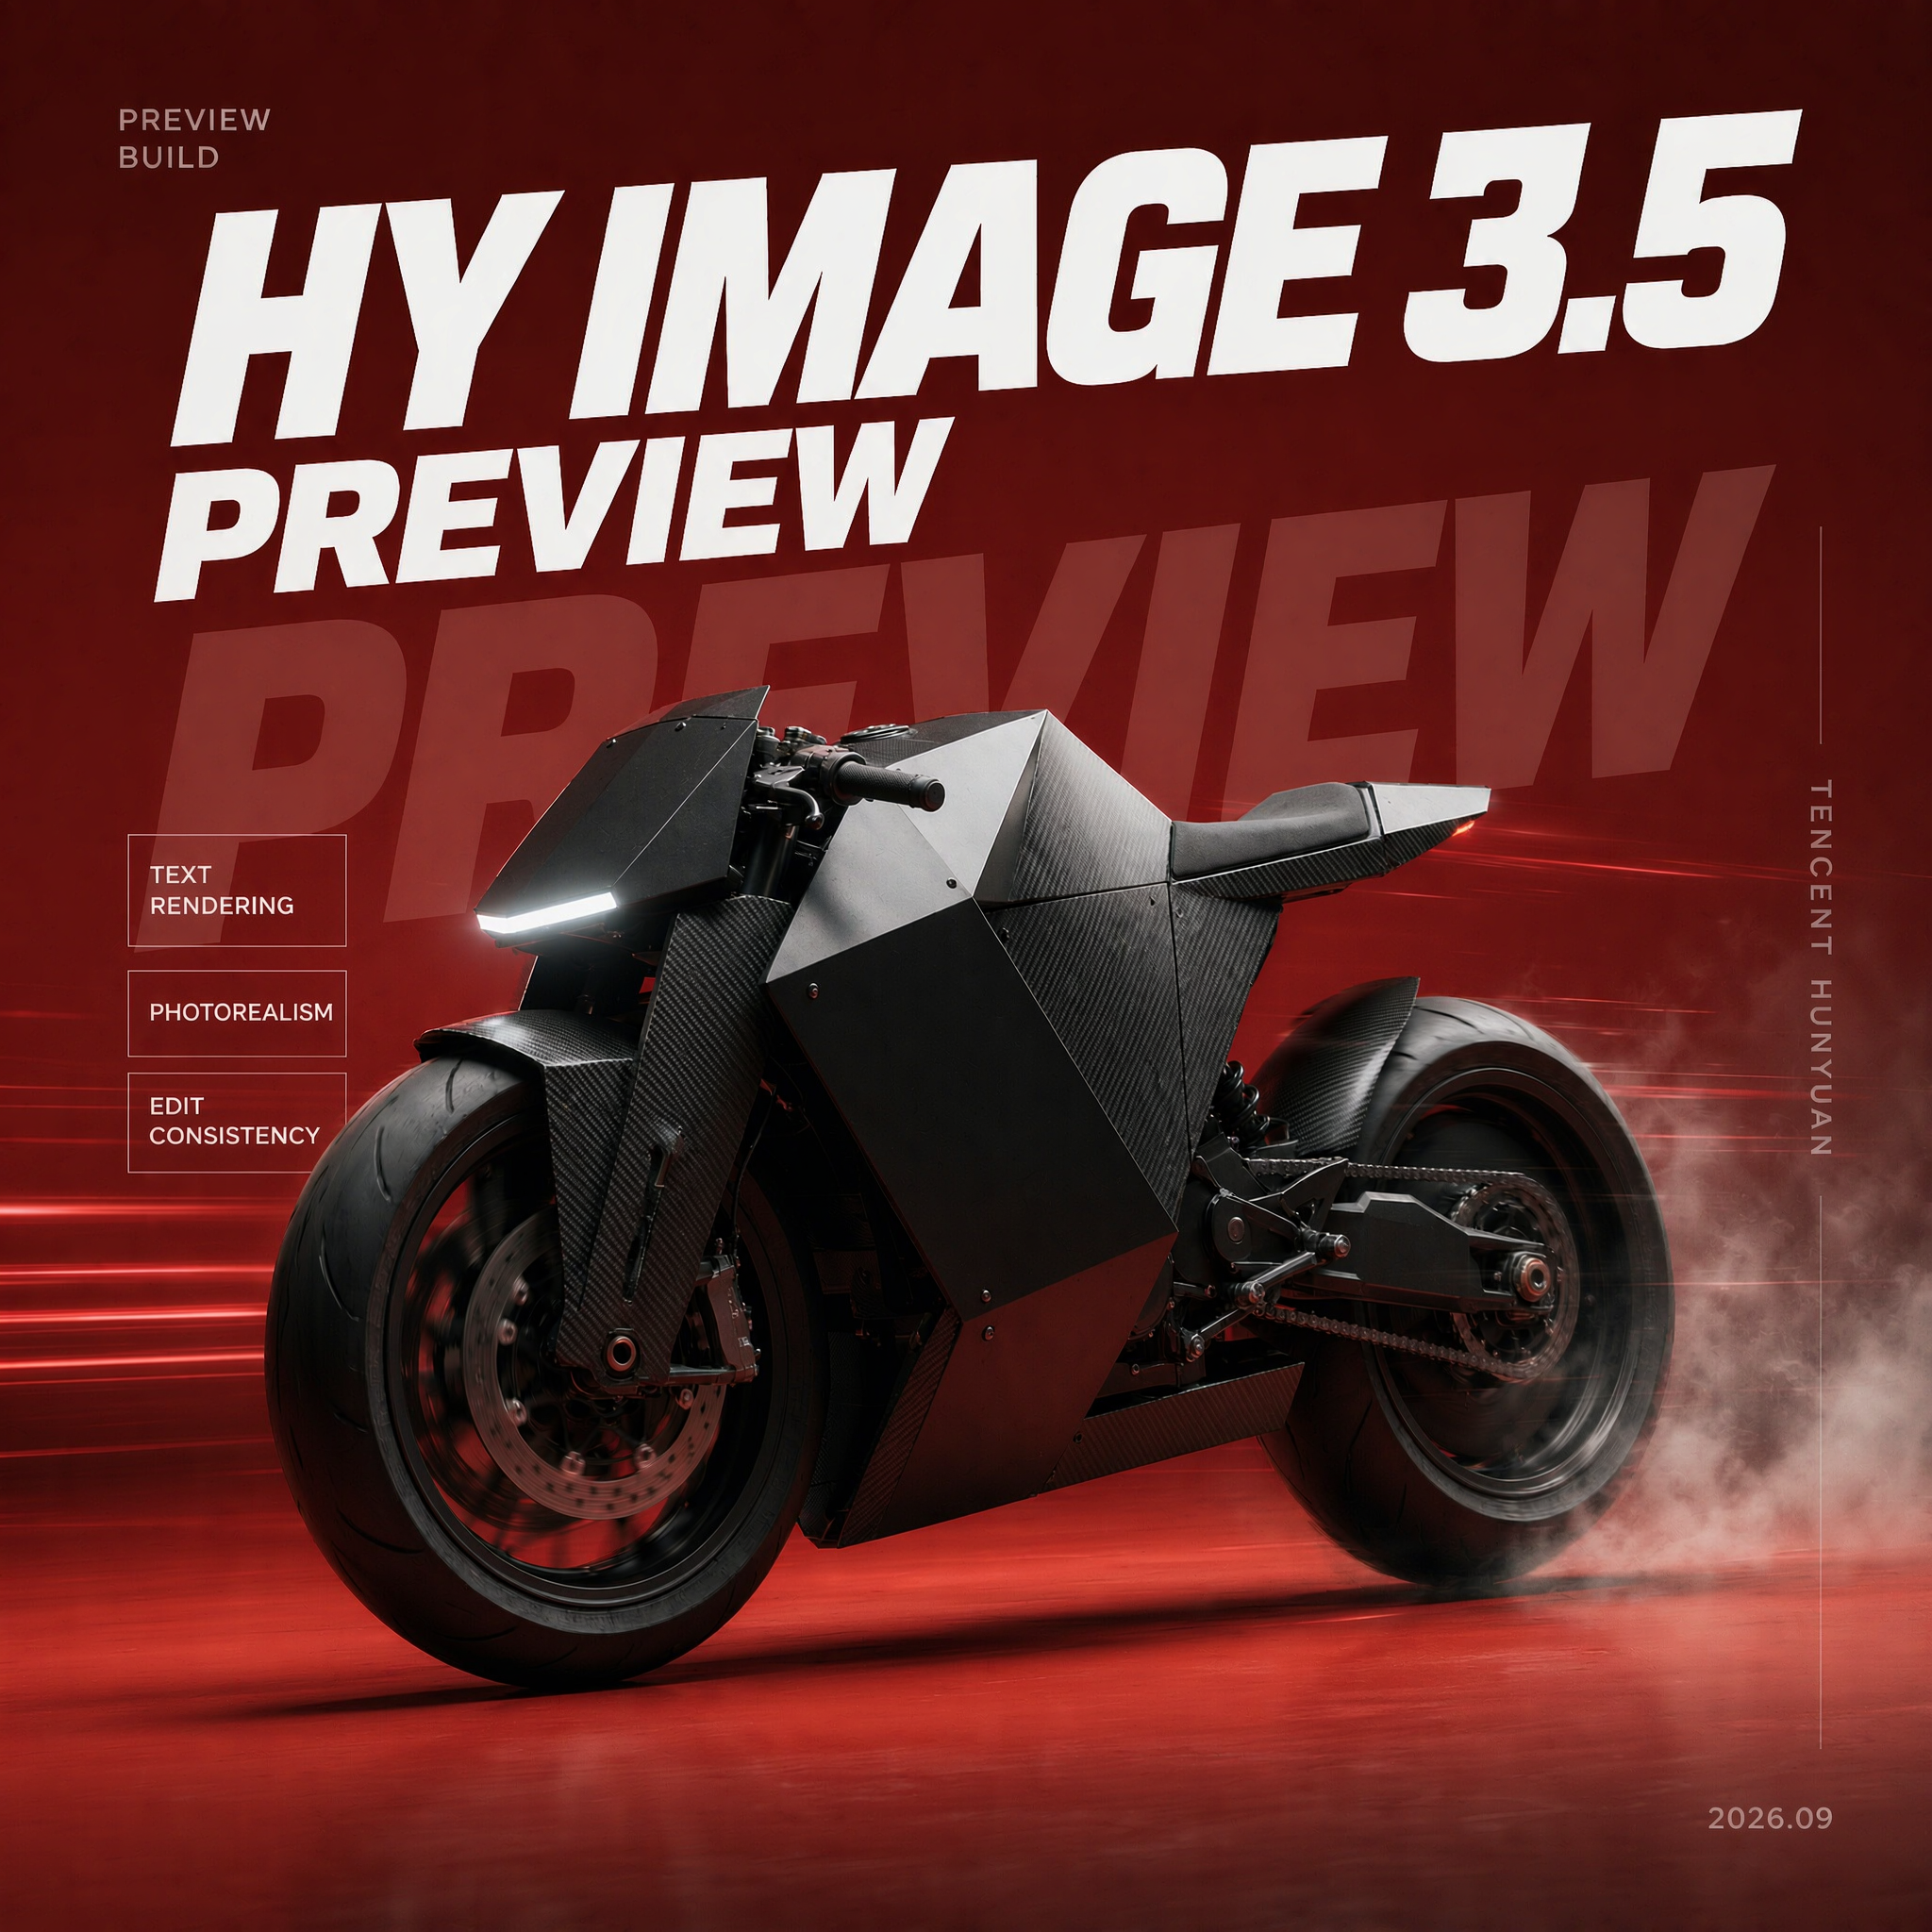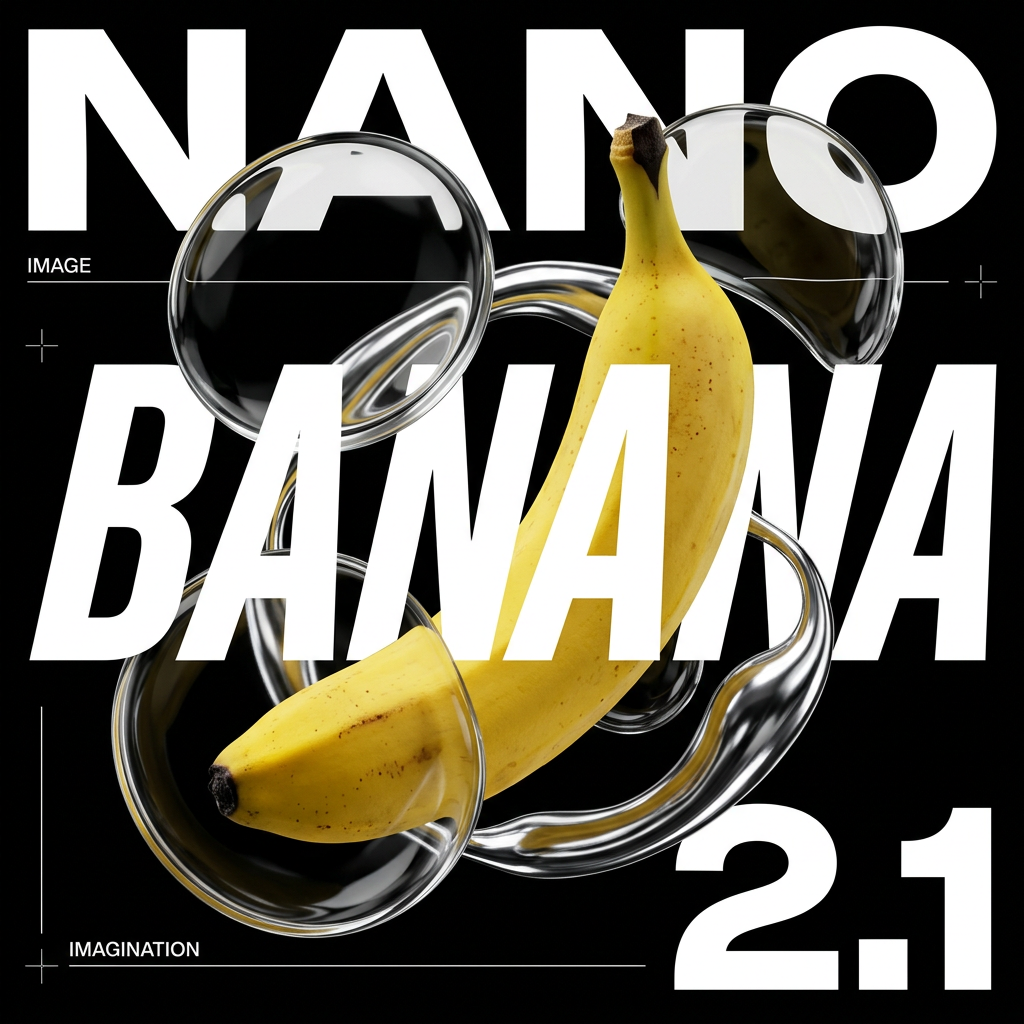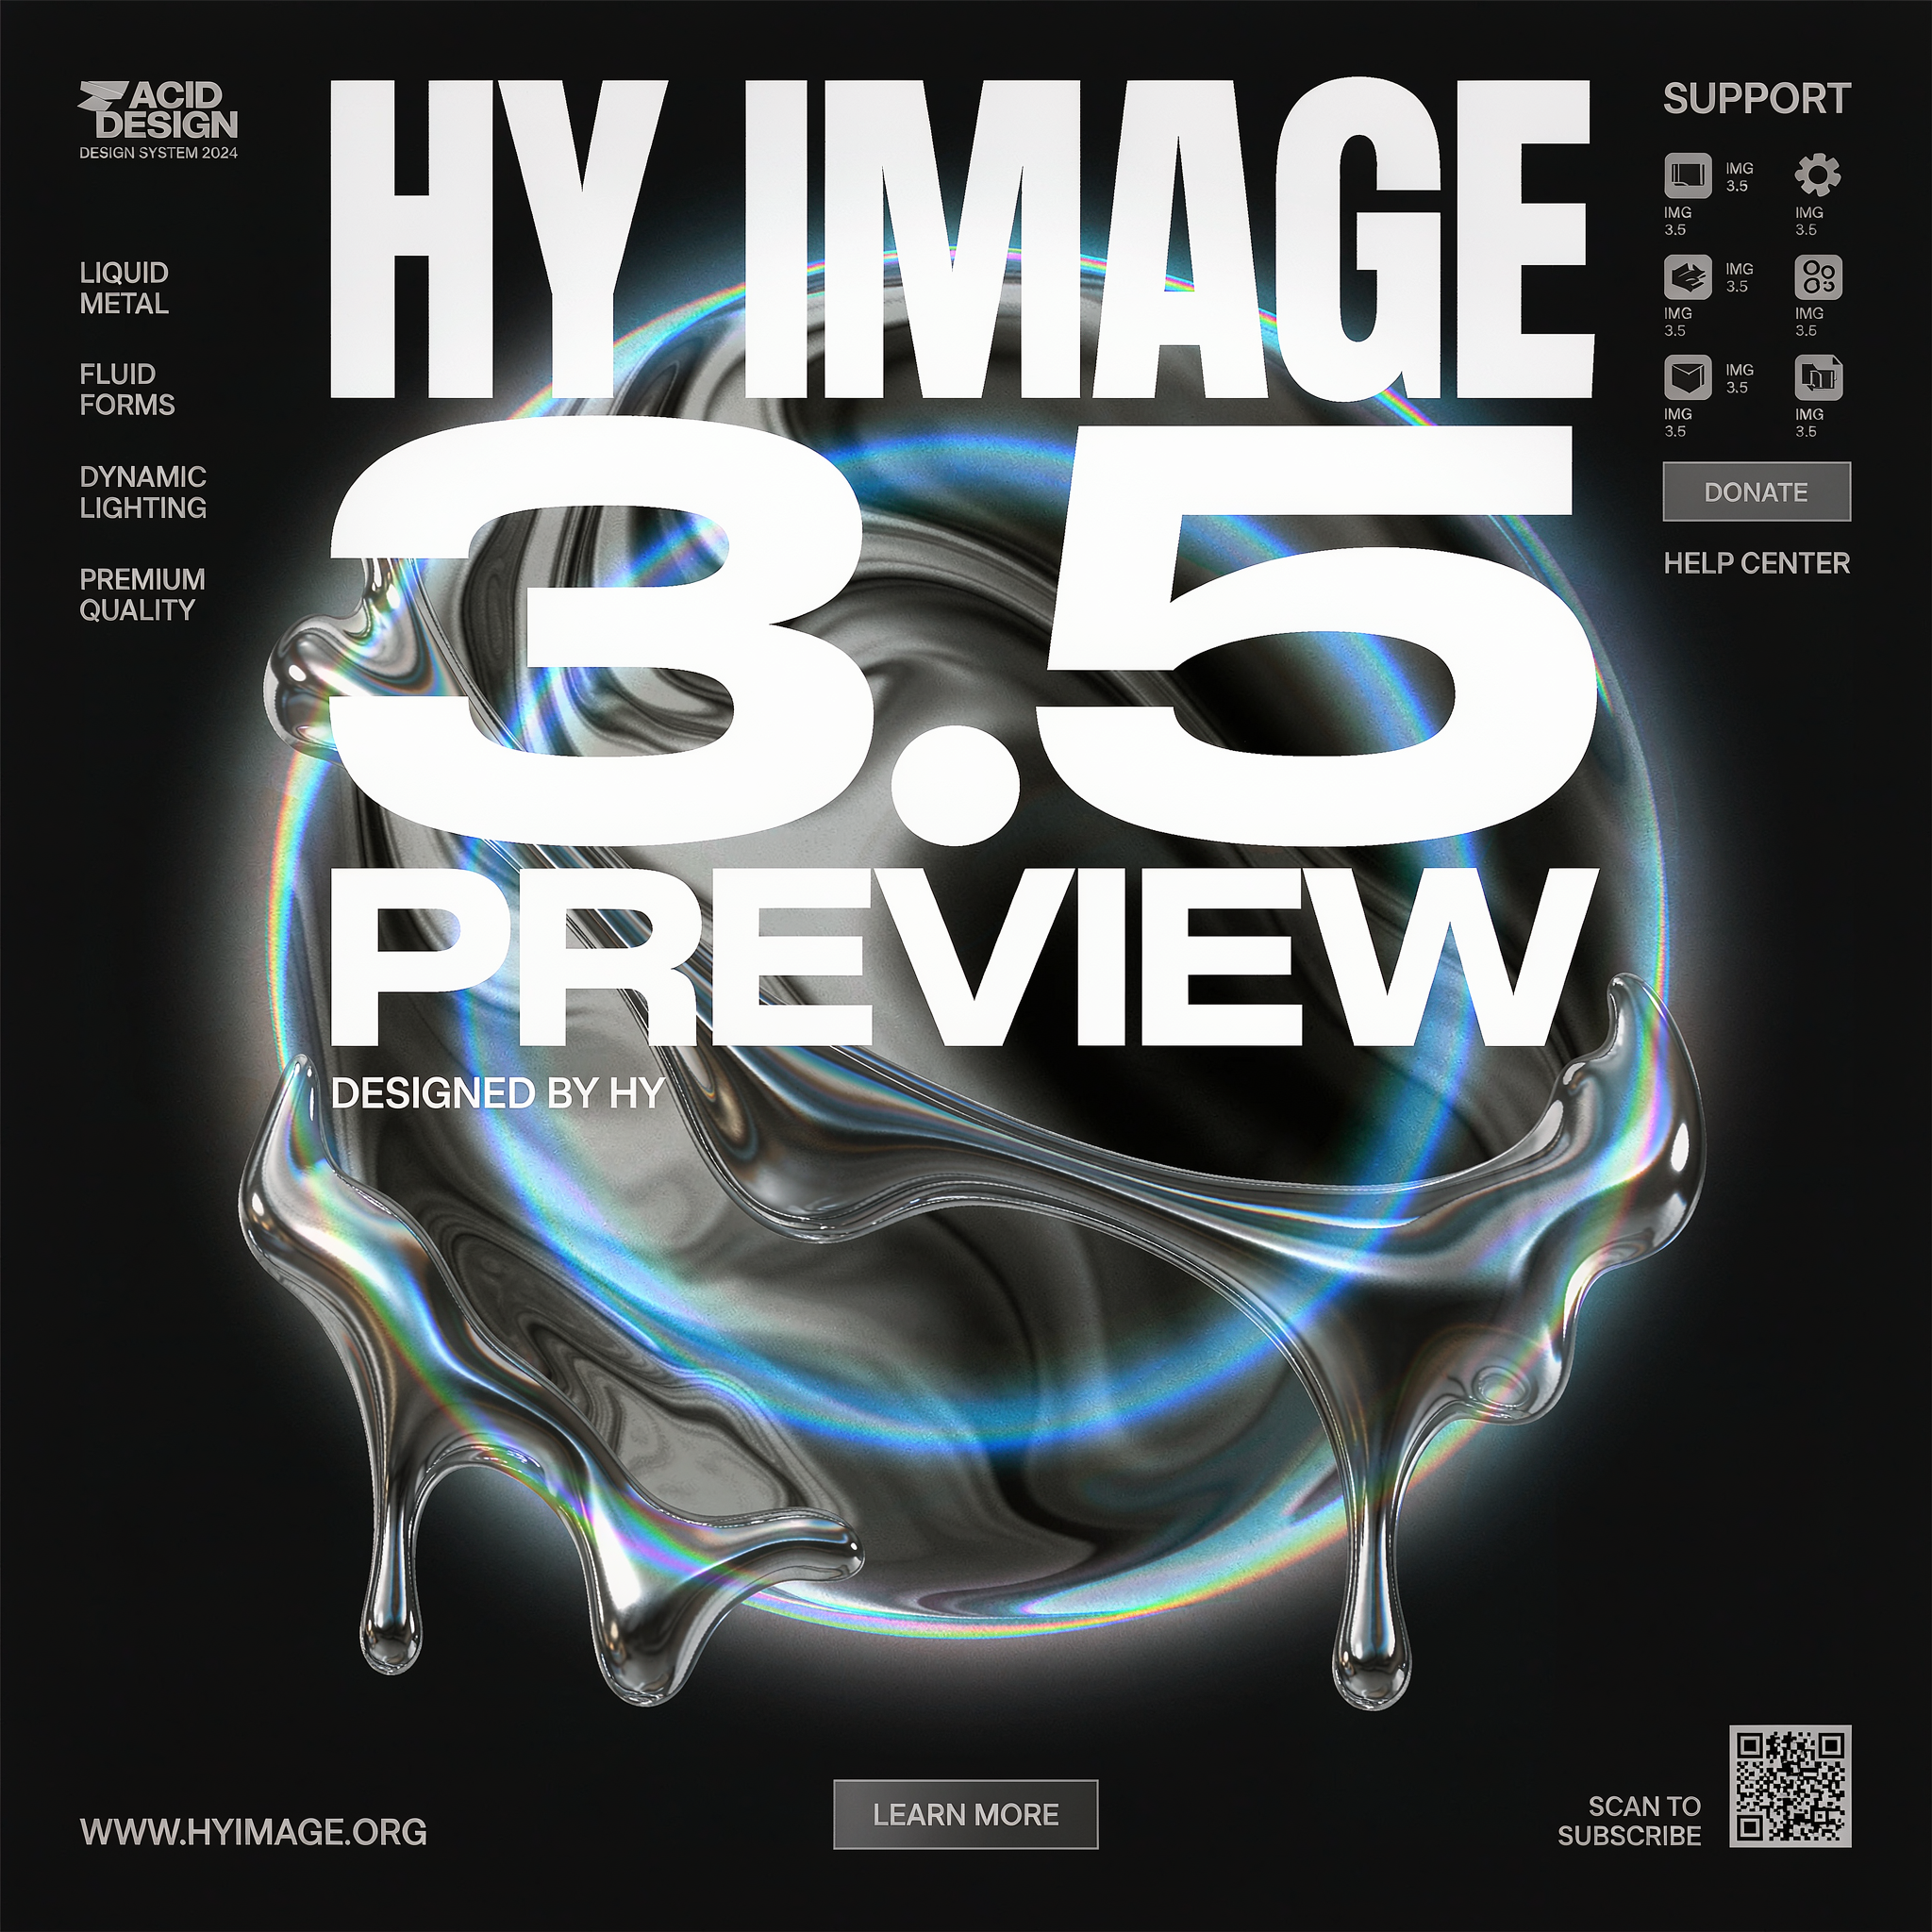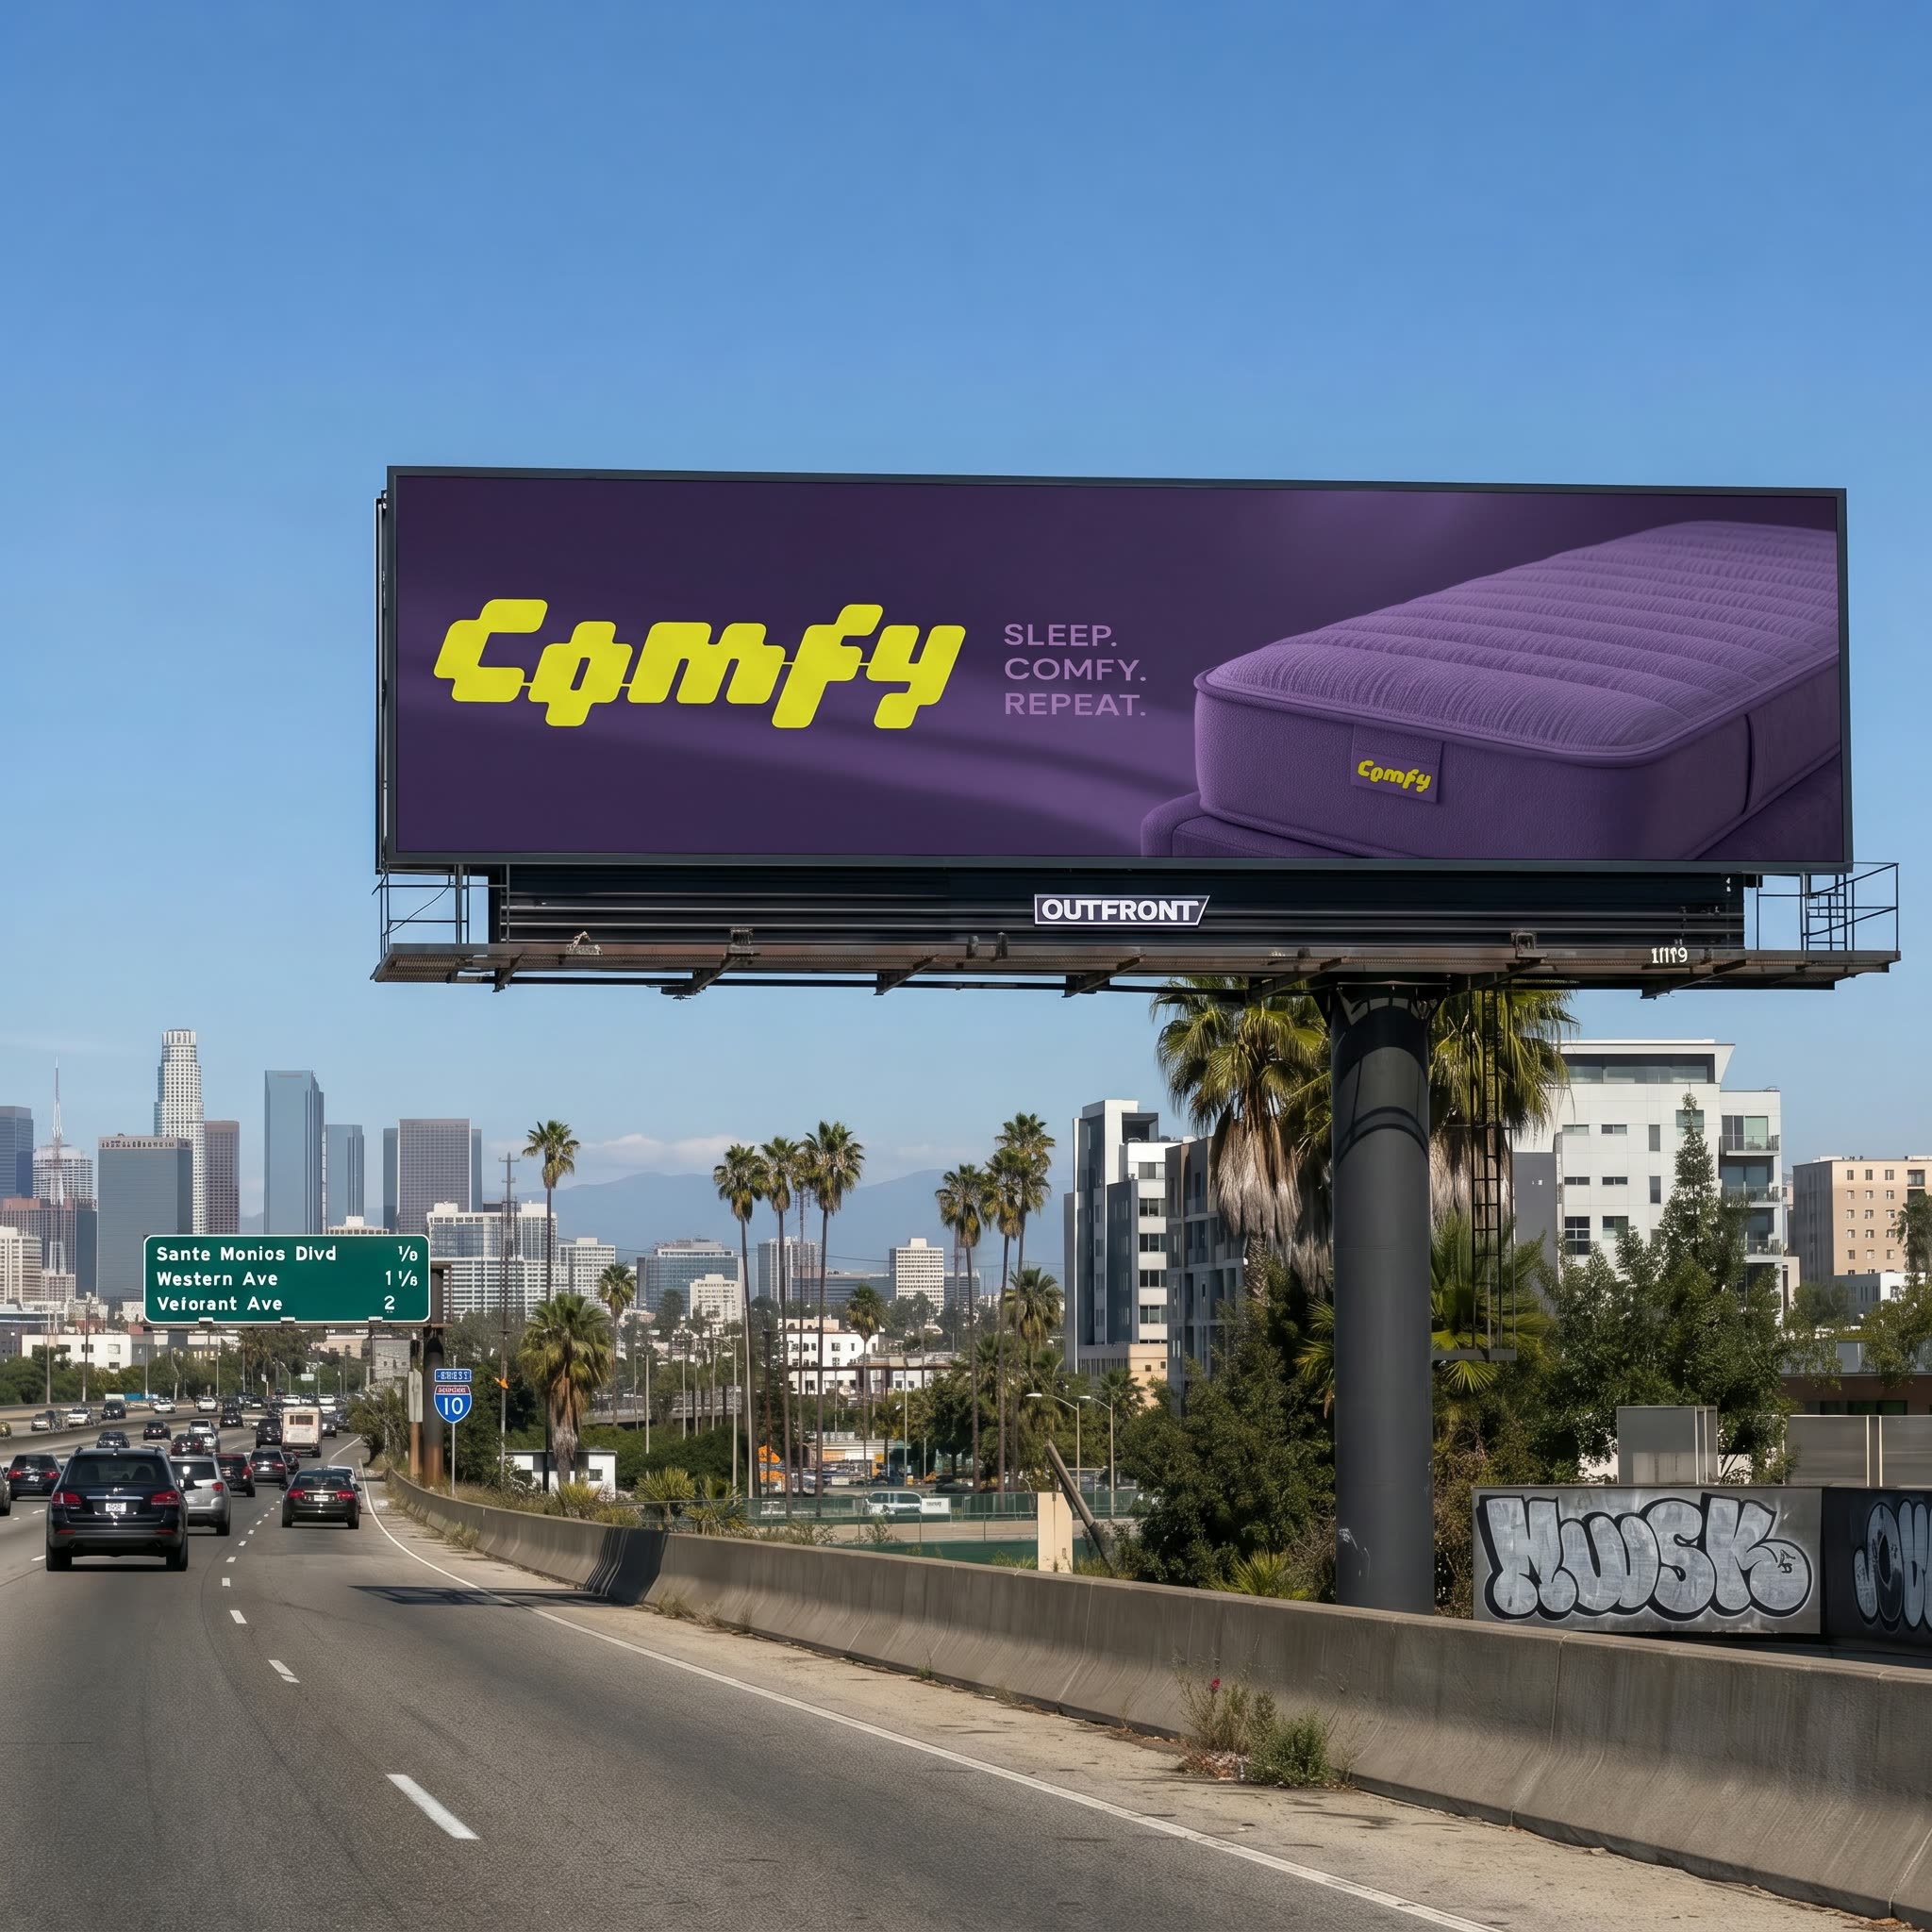
此 ComfyUI 工作流程協助品牌與創意團隊,快速將現有海報置入真實戶外(OOH)情境。流程分為兩大階段。第一步「海報重新排版」會將你的原始海報非破壞性地轉換為多種長寬比(直式、橫式、方形或自訂),並保留原設計。此階段由 LoadImage、PrimitiveNode(設定寬高)、PrimitiveBoolean(啟用/停用格式)、ComfySwitchNode(只導出你要的格式)、BatchImagesNode(打包多組輸出)組成。SaveImage 會產出乾淨、已排版的版本,方便後續置入。
第二步「戶外情境視覺化」則將選定的排版海報合成到真實或描述的環境中。你可用 LoadImage 在「影像環境」群組載入現場照片,或在「提示環境」群組用白話描述場景(如「舊金山市中心二層樓建築上的戶外看板,行人視角」)。GeminiImage2Node 會將描述轉為結構化場景說明與檔名。兩個自訂處理節點(ae42e662-5e2b-4f52-b31d-267bd68f1c6f 與 88b611c3-ce43-4e7a-a59f-dd16f57a8853)負責將海報透視貼圖並融合到目標表面,可微調比例、變形與疊加強度,達到真實效果。SaveImage 可批次輸出最終提案,方便並排比較不同格式與場景。
API
從程式碼使用此工作流
每個 Comfy 工作流都是一個 JSON 圖。下方的 payload 就是此工作流,與 ComfyUI 執行時完全相同 — 你可以從此 URL 取得、放入版本控制,或在 ComfyUI 載入並逐節點執行。
使用 Comfy SDK 以 TypeScript 或 Python 執行。相同程式碼可用於 Comfy Cloud 或你自架的 ComfyUI — 只需更改 base URL。
// Install (beta)
npm i @comfyorg/sdk

// Run this workflow (TypeScript)
import { Comfy } from "@comfyorg/sdk";

const client = new Comfy({ apiKey: "comfyui-..." });
const wf = await client.workflows.fromFile("workflow_api.json");
const job = await client.run(wf);
await job.getOutputs("<output-node-id>")[0].toFile("output.png");
SDK 需使用 API 格式的工作流:請在 ComfyUI 開啟此工作流,並使用 檔案 → 匯出工作流(API)。
常見問題