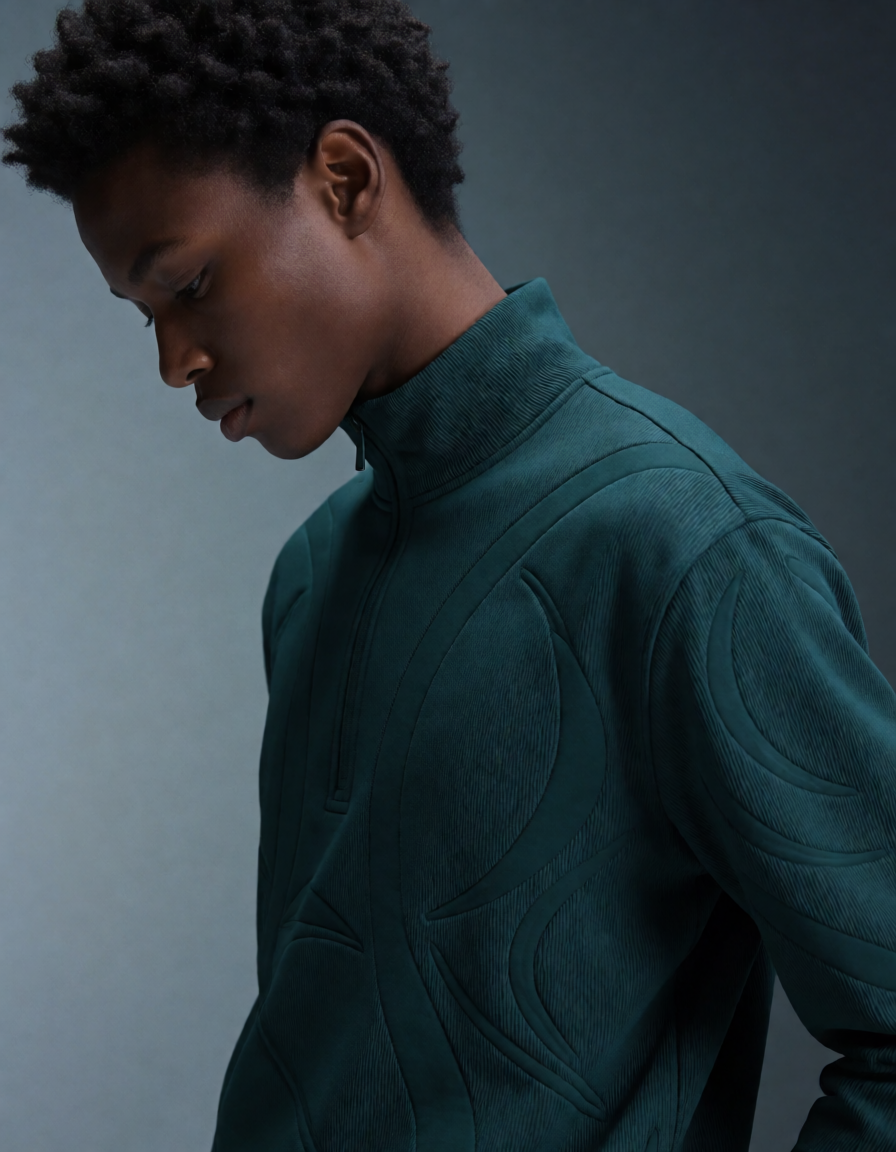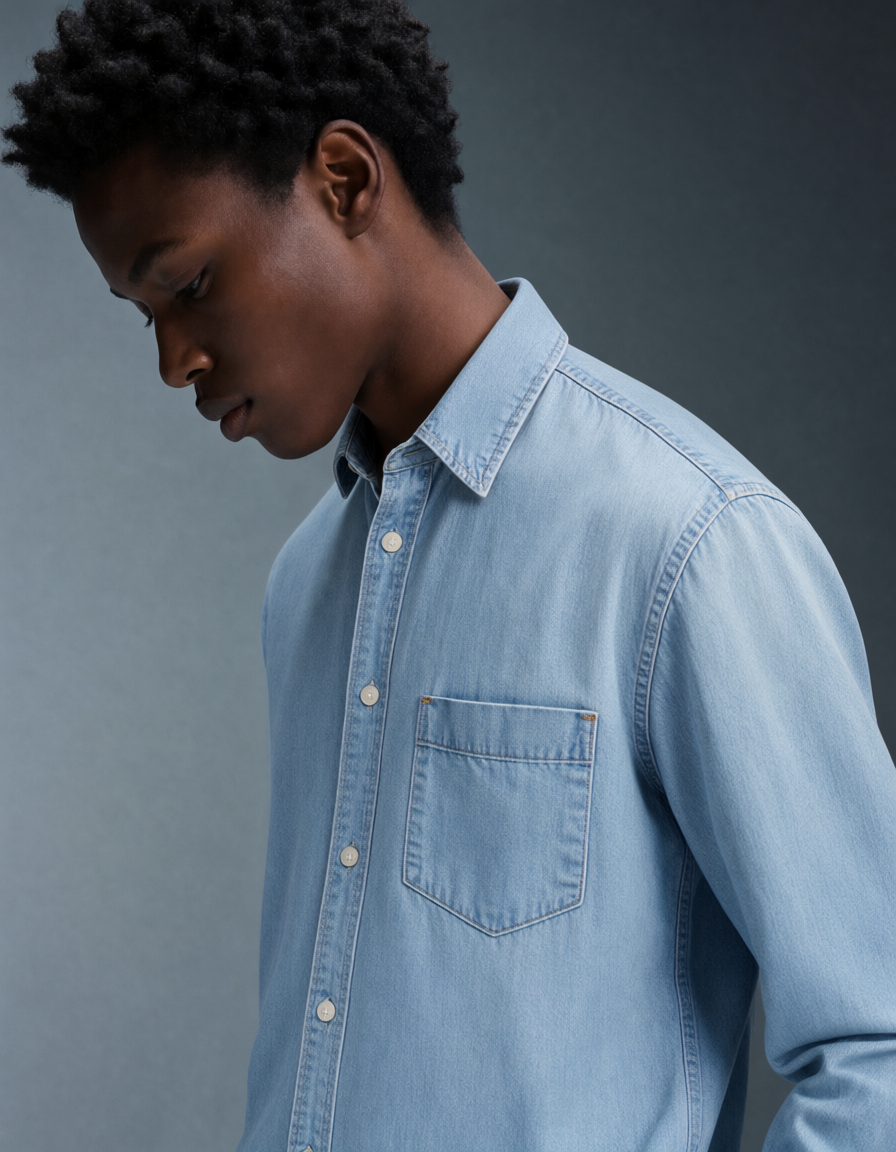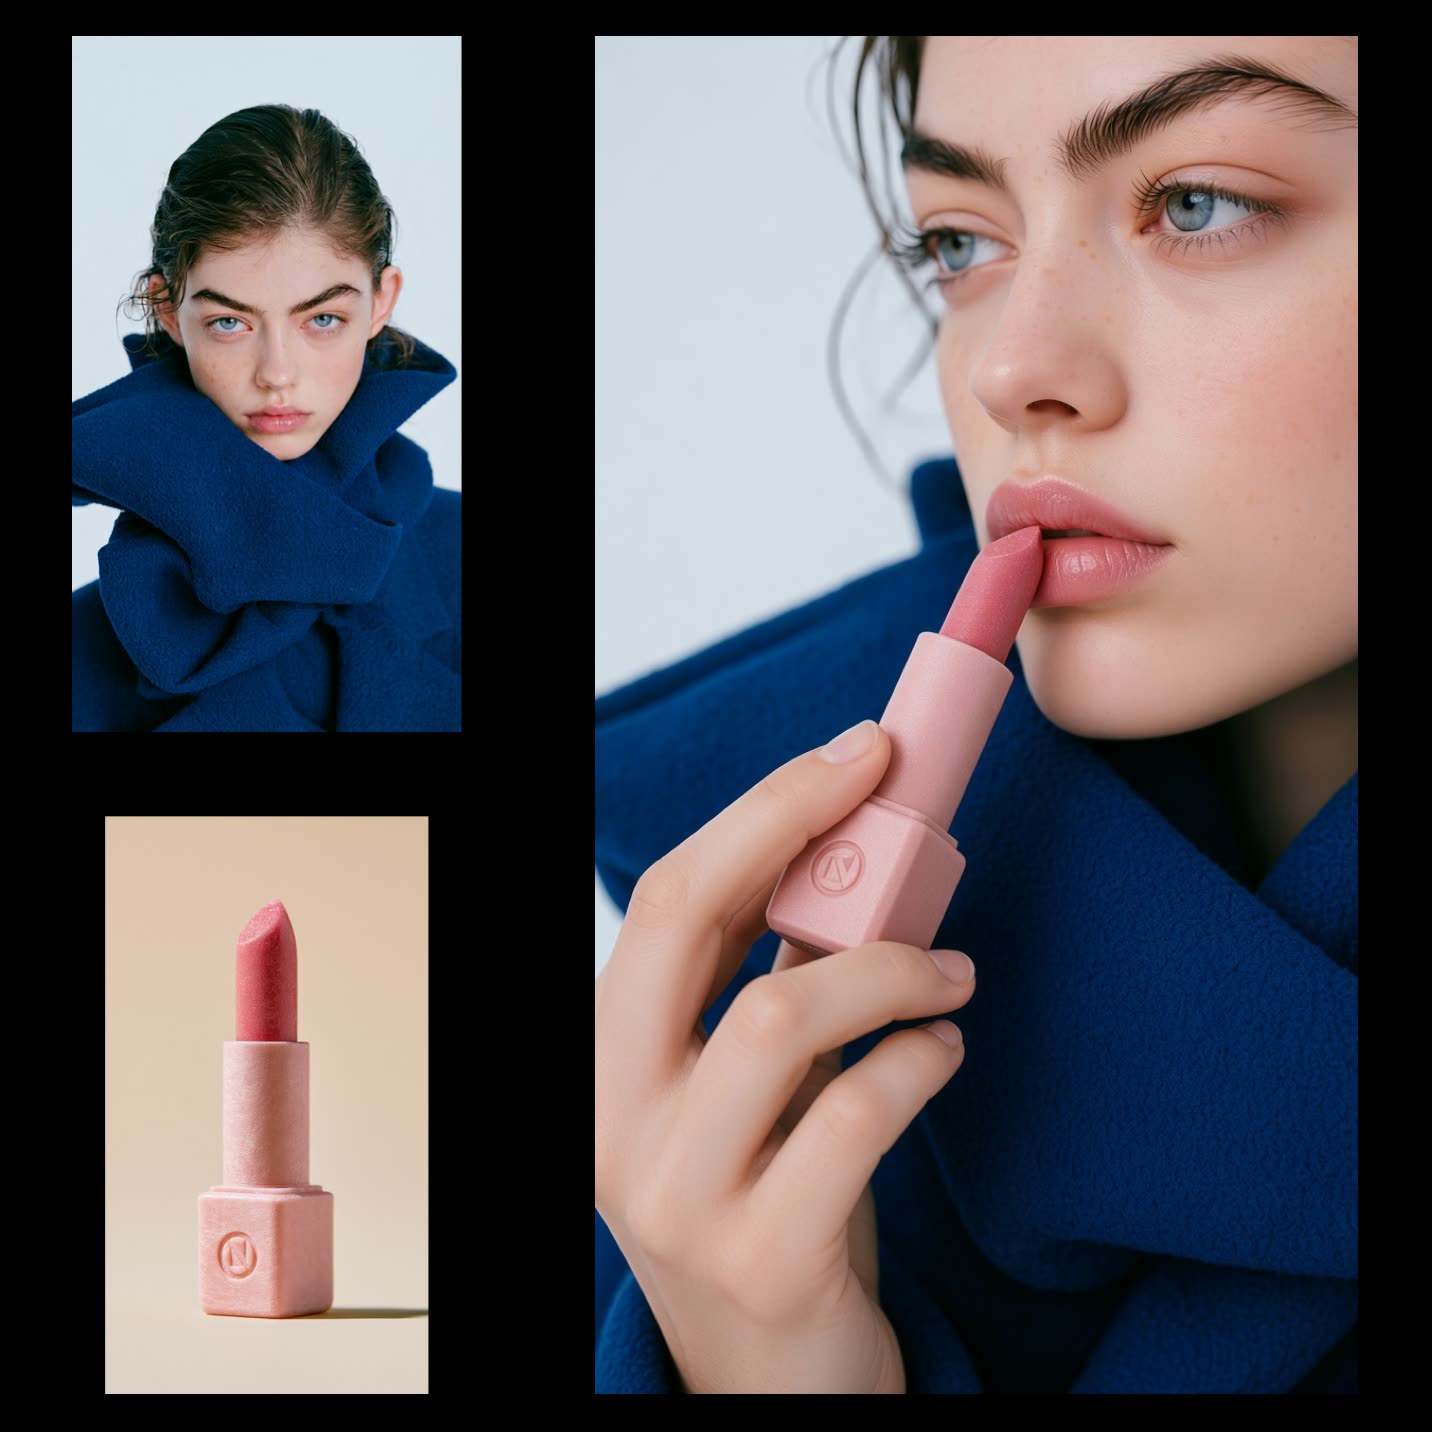

This ComfyUI workflow performs virtual try-on by taking two inputs—a person photo and a garment image—and compositing them into a realistic outfit preview while preserving the subject’s face and pose. The core is the FluxVTONode (FLUX Virtual Try-On model), which receives the Person (LoadImage) and Garment (LoadImage) inputs, then outputs a single try-on result that keeps identity features from the person image and transfers the garment’s texture and shape.
Around the model node, utility nodes make the process practical and reviewable. ImageCompare lets you place the original person image alongside the try-on result for instant before/after inspection, and ImageStitch can assemble a simple contact sheet (e.g., garment, person, and result in one panel). Finally, SaveImage writes the synthesized try-on to disk. The included MarkdownNote summarizes quick-start guidance so you can load images, run the queue, and iterate quickly with minimal configuration.
API
코드에서 이 워크플로우 사용하기
모든 Comfy 워크플로우는 JSON 그래프입니다. 아래 페이로드는 이 워크플로우 그 자체로, ComfyUI에서 실행되는 것과 동일합니다 — URL에서 가져오거나, 버전 관리에 보관하거나, ComfyUI에서 불러와 노드별로 실행할 수 있습니다.
Comfy SDK로 TypeScript 또는 Python에서 실행하세요. 동일한 코드는 Comfy Cloud 또는 직접 호스팅하는 ComfyUI 모두에 적용됩니다 — 기본 URL만 다릅니다.
// Install (beta)
npm i @comfyorg/sdk

// Run this workflow (TypeScript)
import { Comfy } from "@comfyorg/sdk";

const client = new Comfy({ apiKey: "comfyui-..." });
const wf = await client.workflows.fromFile("workflow_api.json");
const job = await client.run(wf);
await job.getOutputs("<output-node-id>")[0].toFile("output.png");
SDK는 API 형식의 워크플로우를 사용합니다: 이 워크플로우를 ComfyUI에서 열고 파일 → 워크플로우 내보내기(API)를 사용하세요.
FAQ