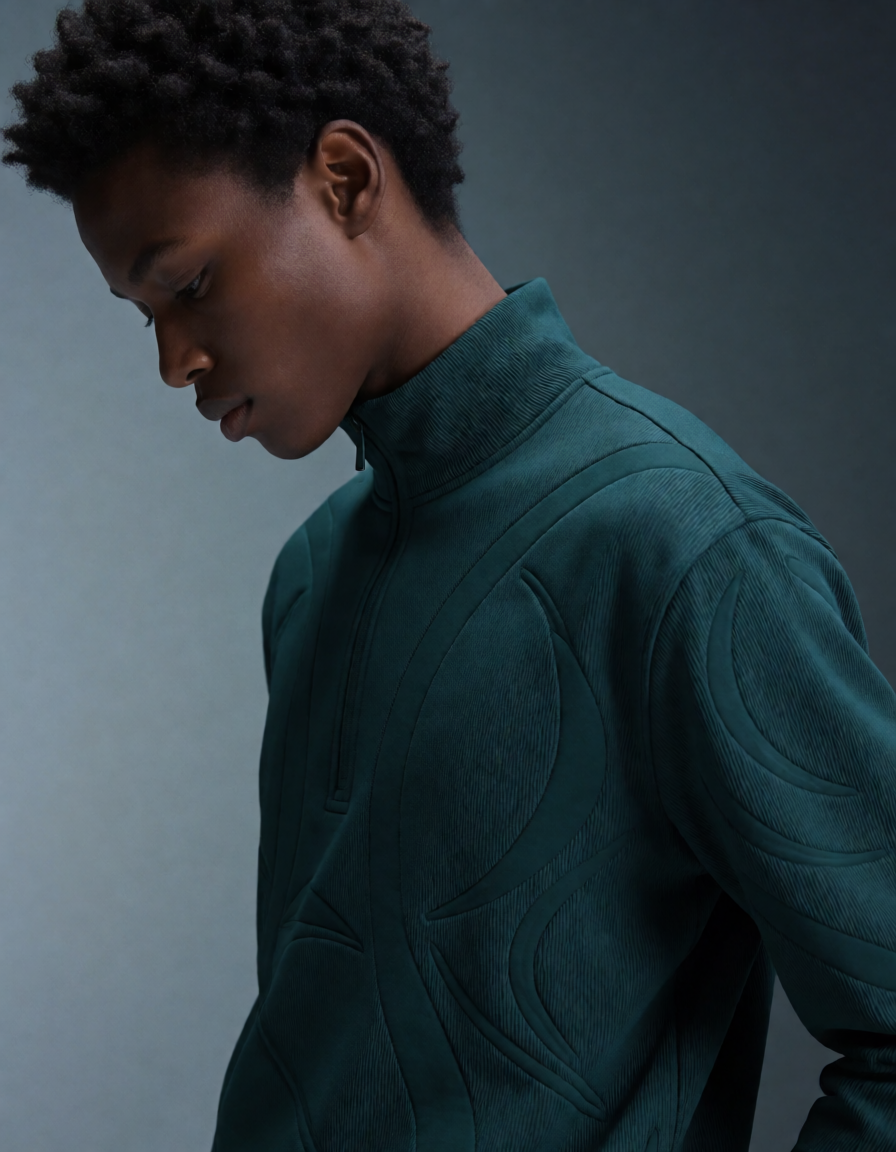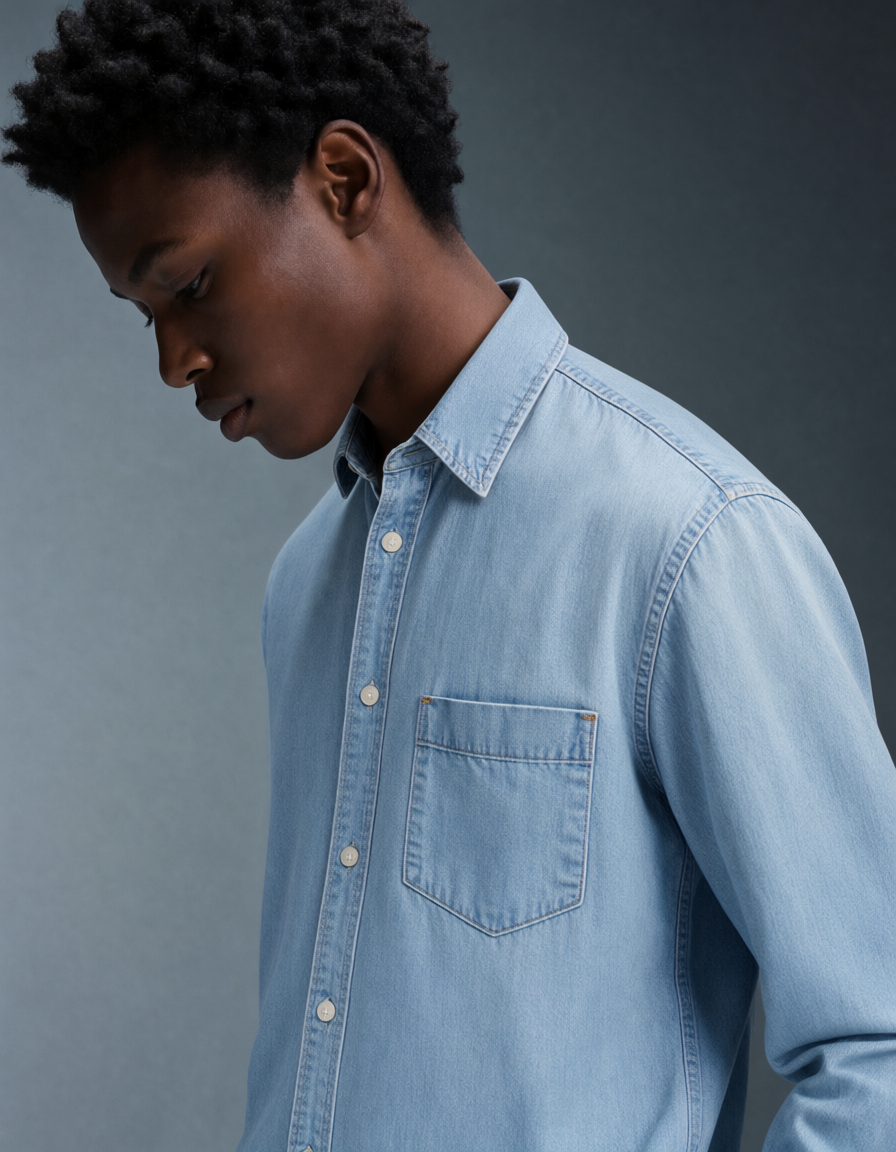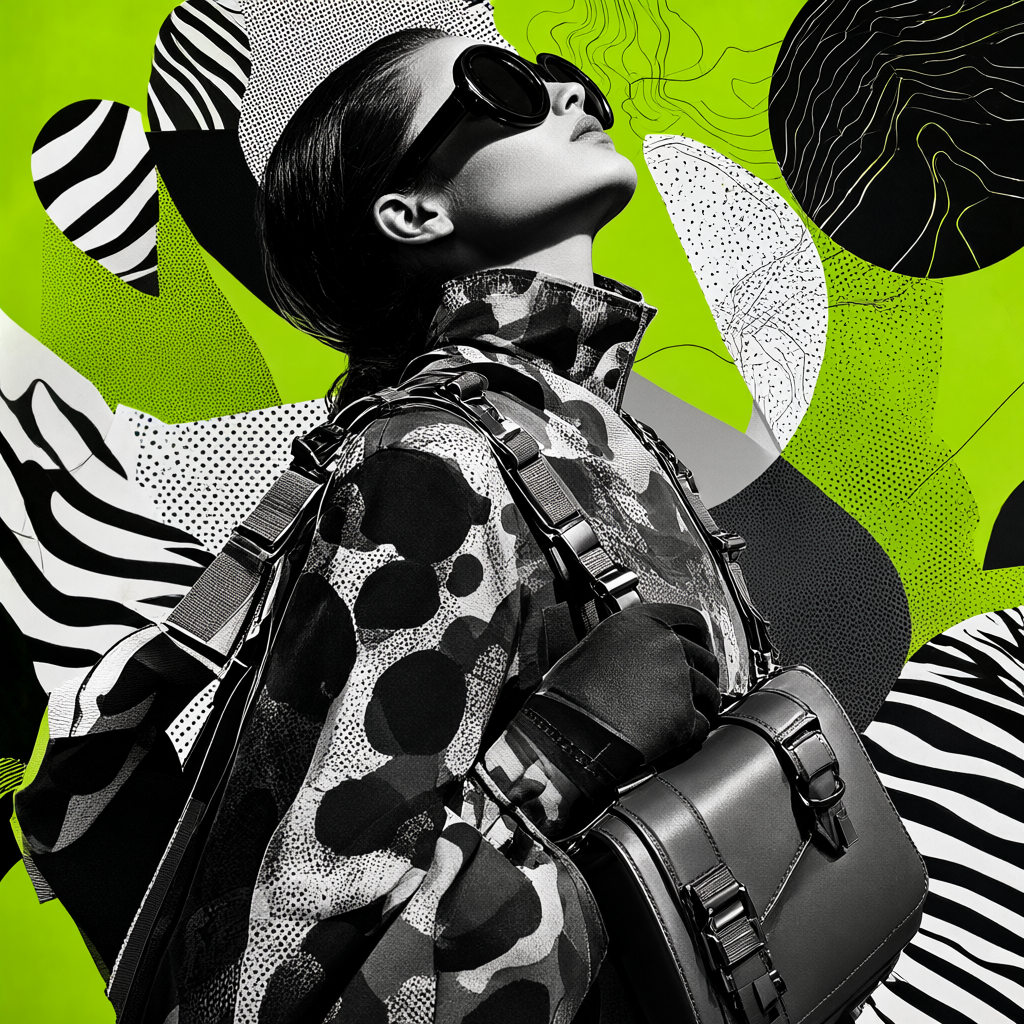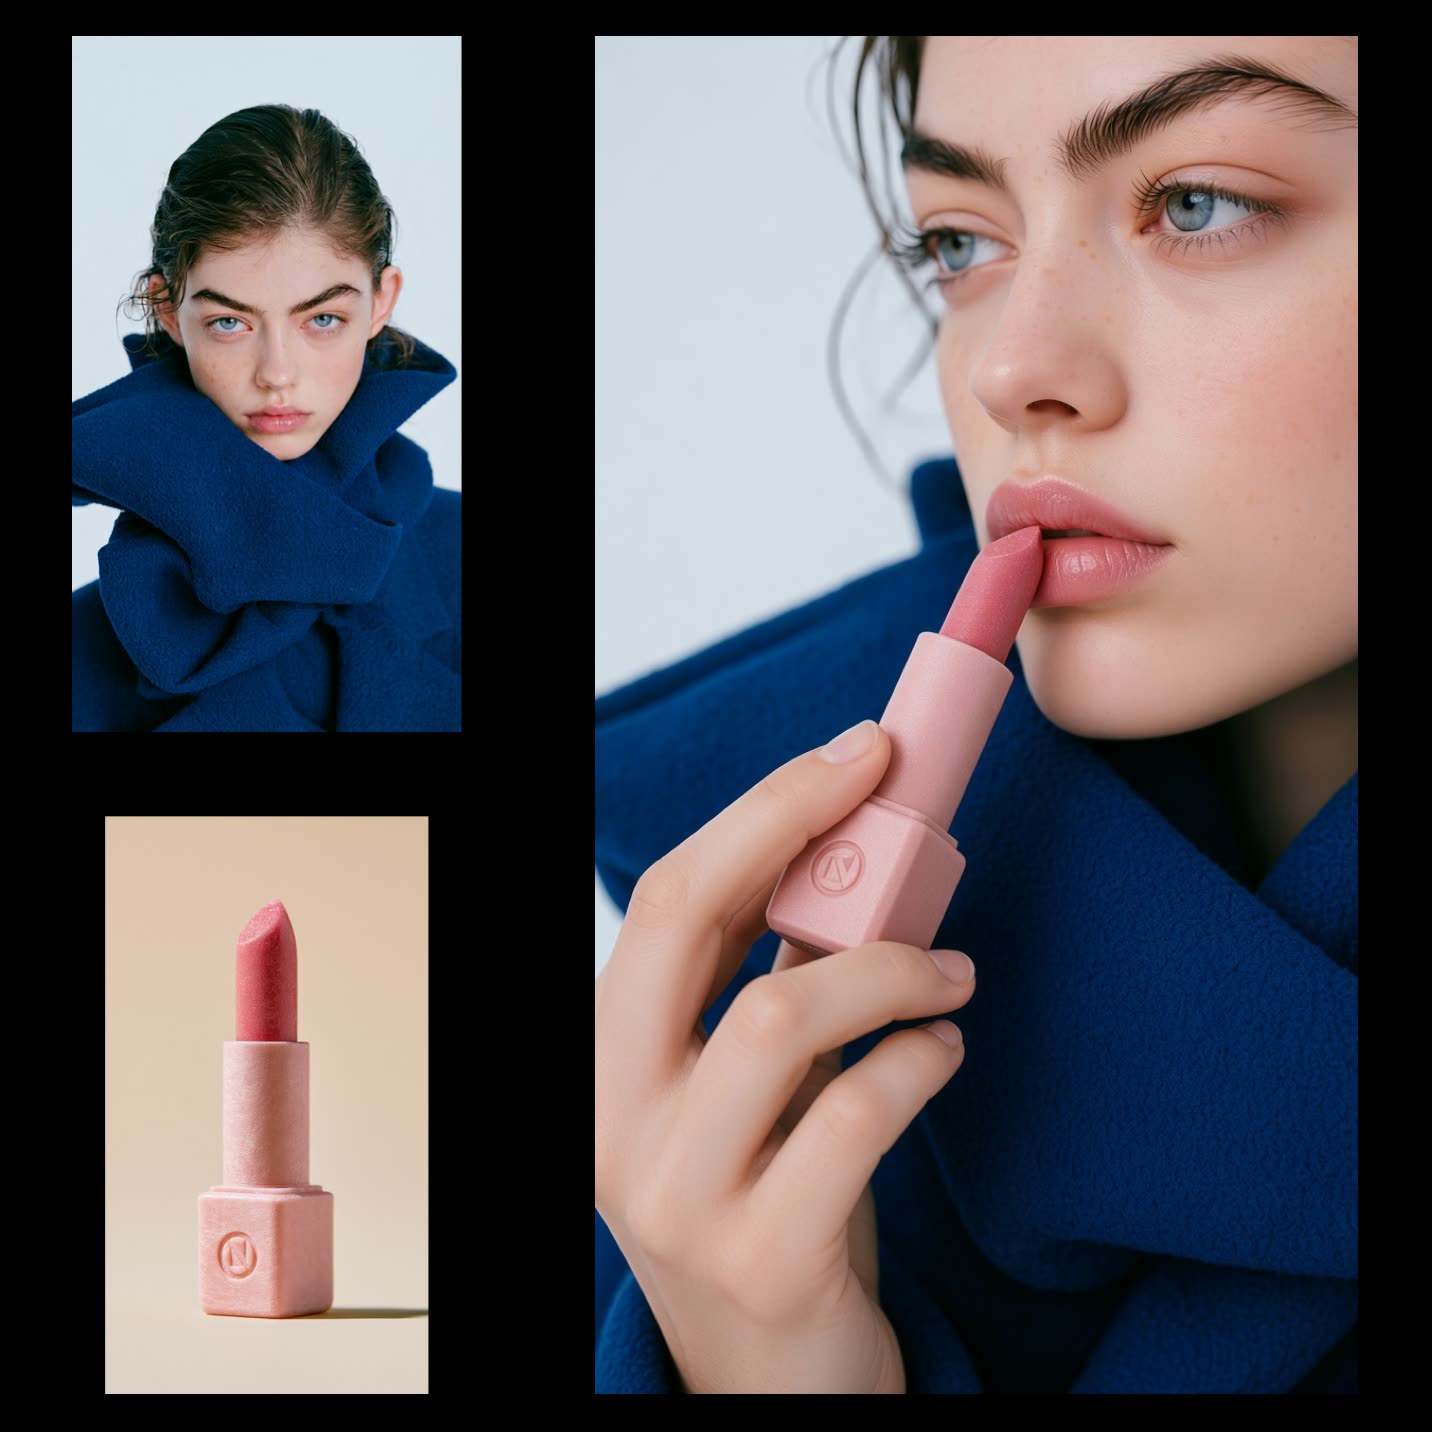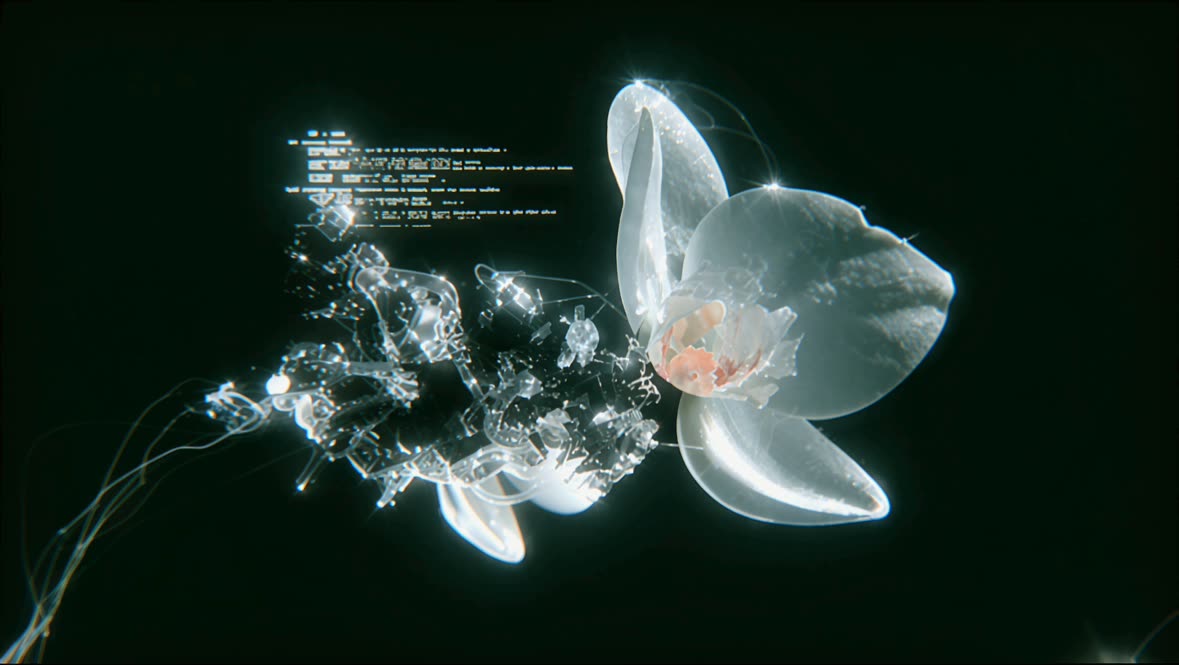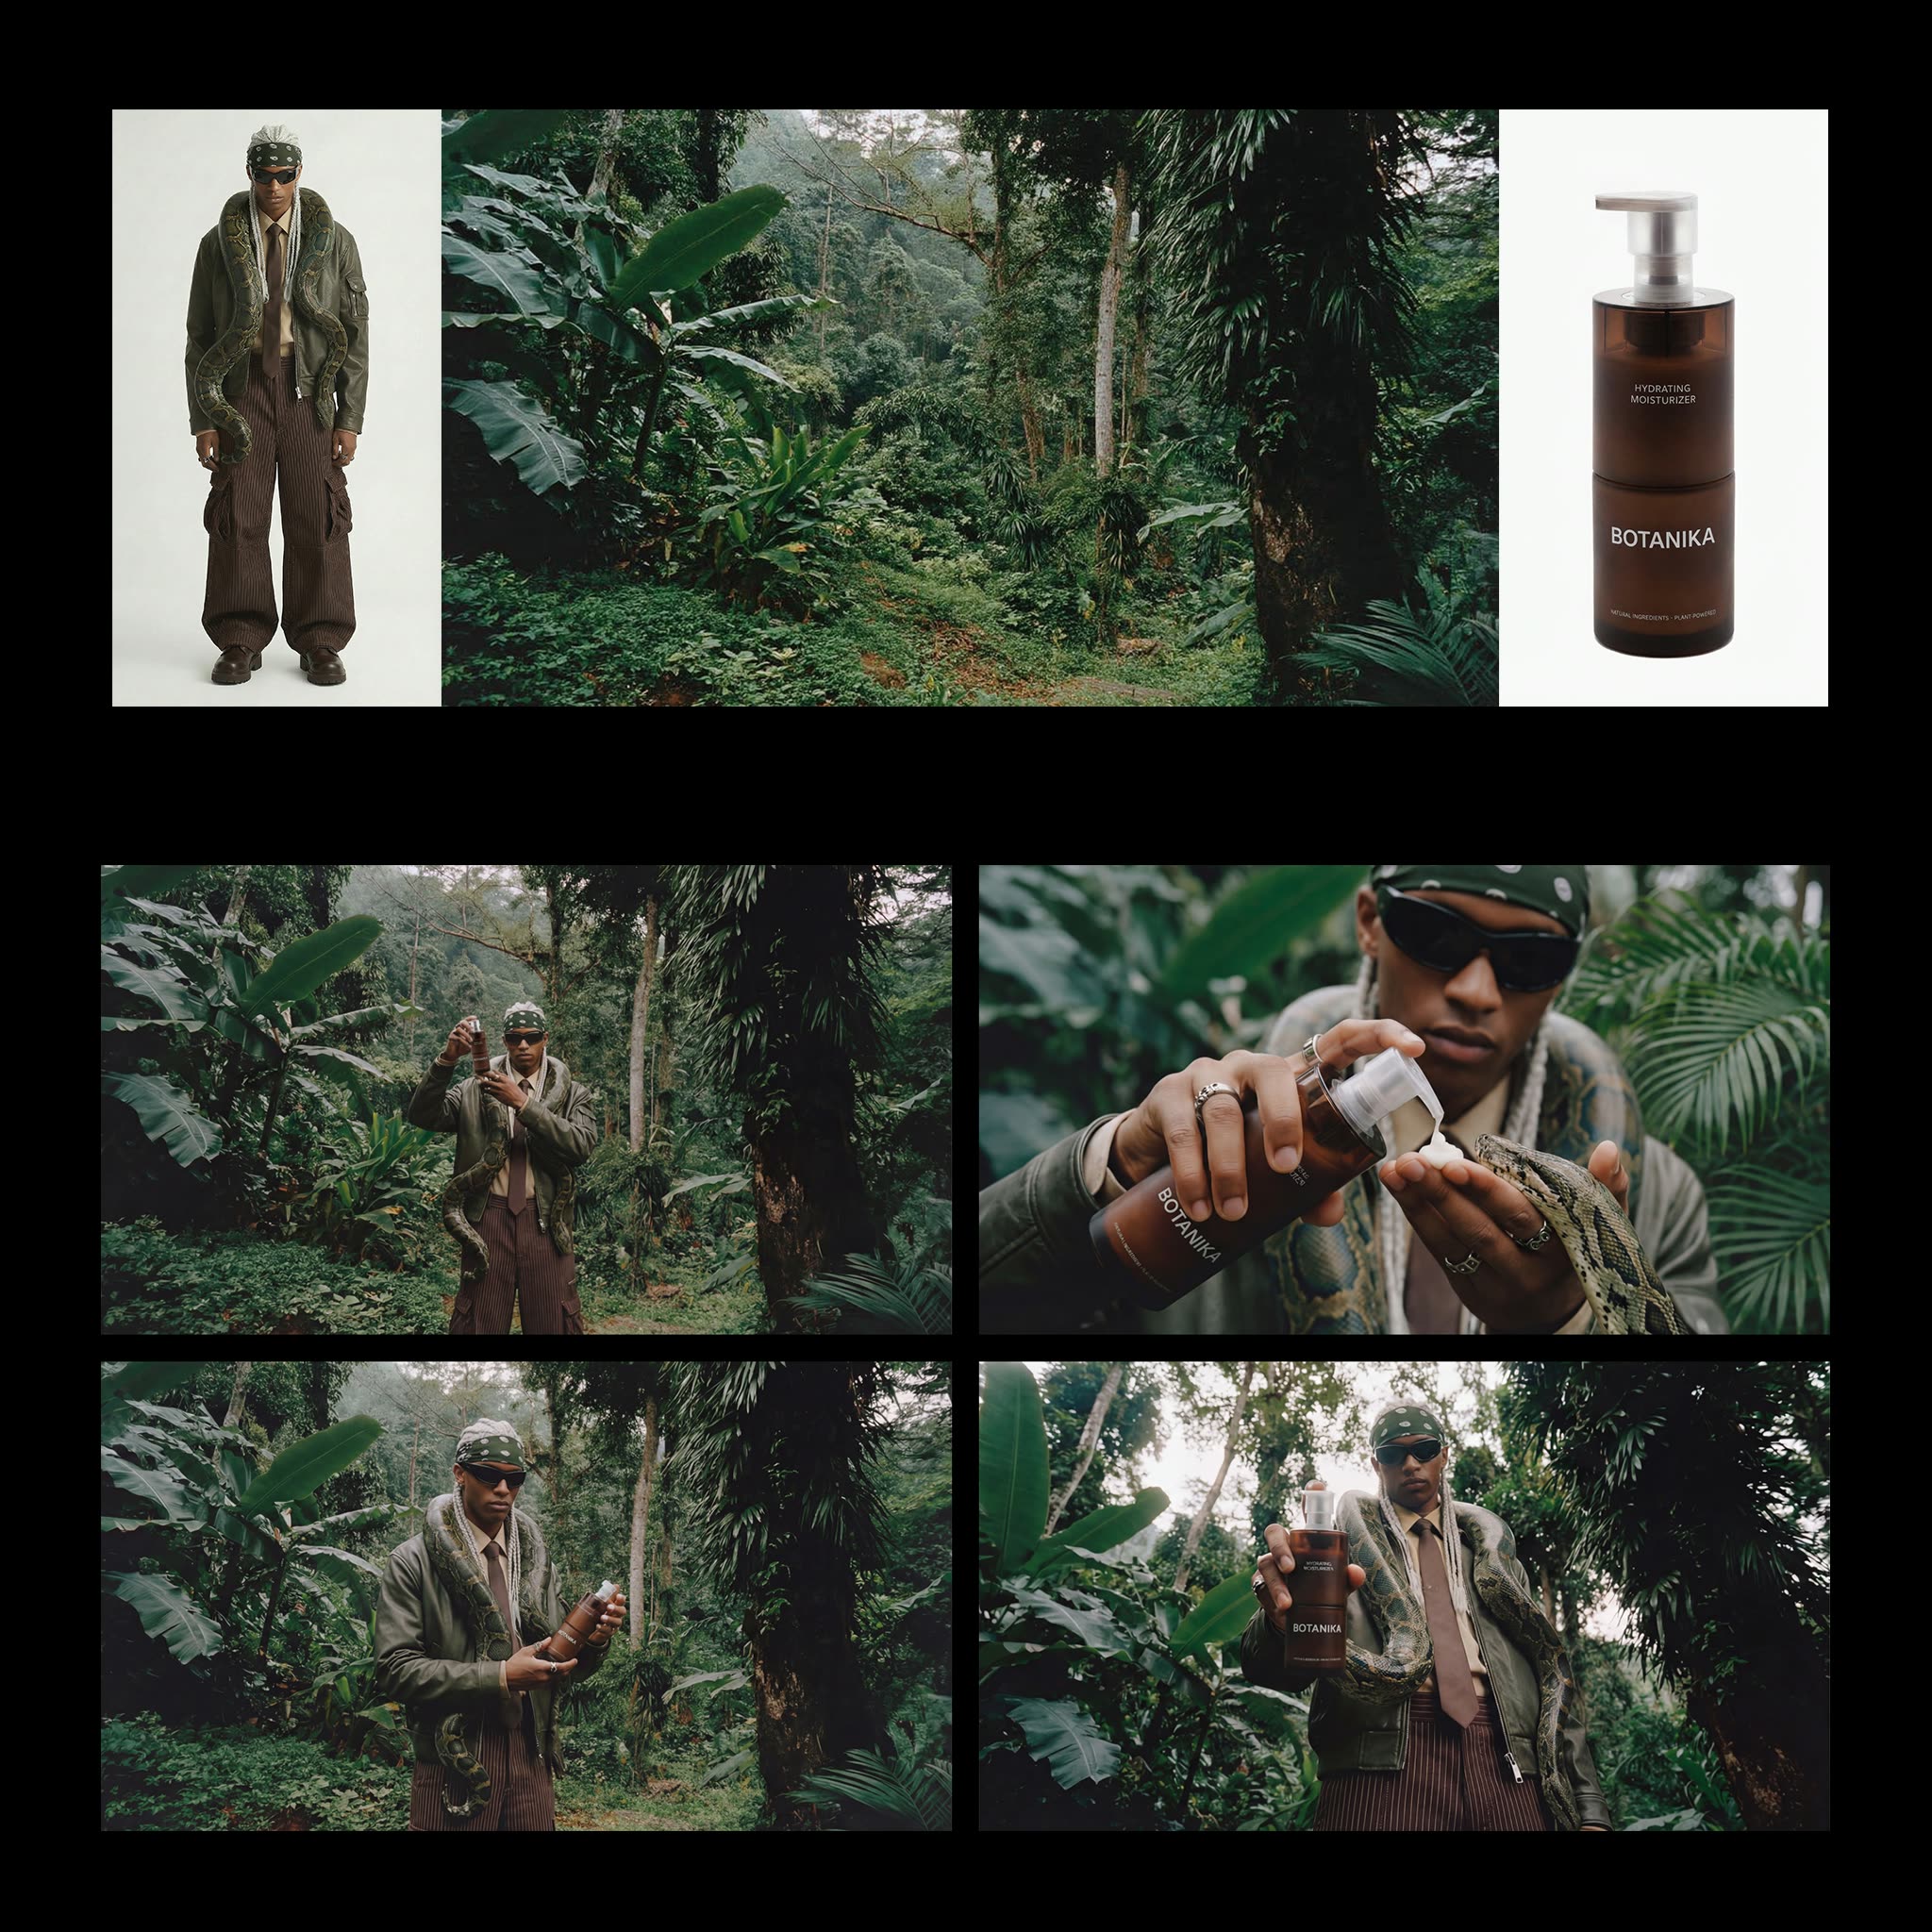
이 ComfyUI 워크플로는 고품질 패션 에디토리얼 촬영 이미지를 생성하는 과정을 간소화하도록 설계되었습니다. Nano Banana Pro 및 Google Gemini Image 같은 특정 모델과 노드를 통합해, 사용자가 캐릭터, 배경 장면, 제품을 업로드하면 가능한 이미지 2x2 그리드를 생성할 수 있습니다. 이후 사용자는 원하는 이미지를 선택해 업스케일링할 수 있으며, 이를 통해 완성도 높은 최종 결과물을 얻습니다. LoadImage 및 GeminiImage2Node 같은 핵심 노드는 이미지 입력과 변환을 처리하고, SaveImage 노드는 최종 이미지가 효율적으로 저장되도록 합니다. 또한 comfyui-kjnodes 및 comfyui_essentials의 커스텀 노드를 활용해 워크플로 기능을 확장하여, 패션 사진을 즐기는 사용자와 실무자 모두에게 활용도가 높습니다.
기술적으로 이 워크플로는 AI 모델과 커스텀 노드 조합을 사용해 이미지 생성 과정을 자동화합니다. Reroute 노드는 데이터 흐름을 효율적으로 관리하고, PrimitiveInt 노드는 이미지 처리 파라미터를 구성하는 데 도움을 줍니다. PreviewImage 노드는 중간 결과를 확인할 수 있게 해 최종 업스케일을 결정하기 전 합리적인 선택을 할 수 있도록 합니다. 이 워크플로는 대규모 수동 편집 없이 에디토리얼 이미지를 빠르게 생성하고 다듬어야 하는 패션 브랜드 및 사진가에게 특히 유용합니다.
API
코드에서 이 워크플로우 사용하기
모든 Comfy 워크플로우는 JSON 그래프입니다. 아래 페이로드는 이 워크플로우 그 자체로, ComfyUI에서 실행되는 것과 동일합니다 — URL에서 가져오거나, 버전 관리에 보관하거나, ComfyUI에서 불러와 노드별로 실행할 수 있습니다.
Comfy SDK로 TypeScript 또는 Python에서 실행하세요. 동일한 코드는 Comfy Cloud 또는 직접 호스팅하는 ComfyUI 모두에 적용됩니다 — 기본 URL만 다릅니다.
// Install (beta)
npm i @comfyorg/sdk

// Run "패션 에디토리얼 샷" (TypeScript)
import { Comfy } from "@comfyorg/sdk";

const client = new Comfy({ apiKey: "comfyui-..." });

// This workflow, exported in API format (see note below)
const wf = await client.workflows.fromFile("templates-2x2_grid-character_bg_product_api.json");

const asset = client.assets.fromFile("input.png");
wf.setInput("1", "image", asset);  // LoadImage

const job = await client.run(wf);
await job.getOutputs("54")[0].toFile("output.png");  // SaveImage
SDK는 API 형식의 워크플로우를 사용합니다: 이 워크플로우를 ComfyUI에서 열고 파일 → 워크플로우 내보내기(API)를 사용하세요.
FAQ