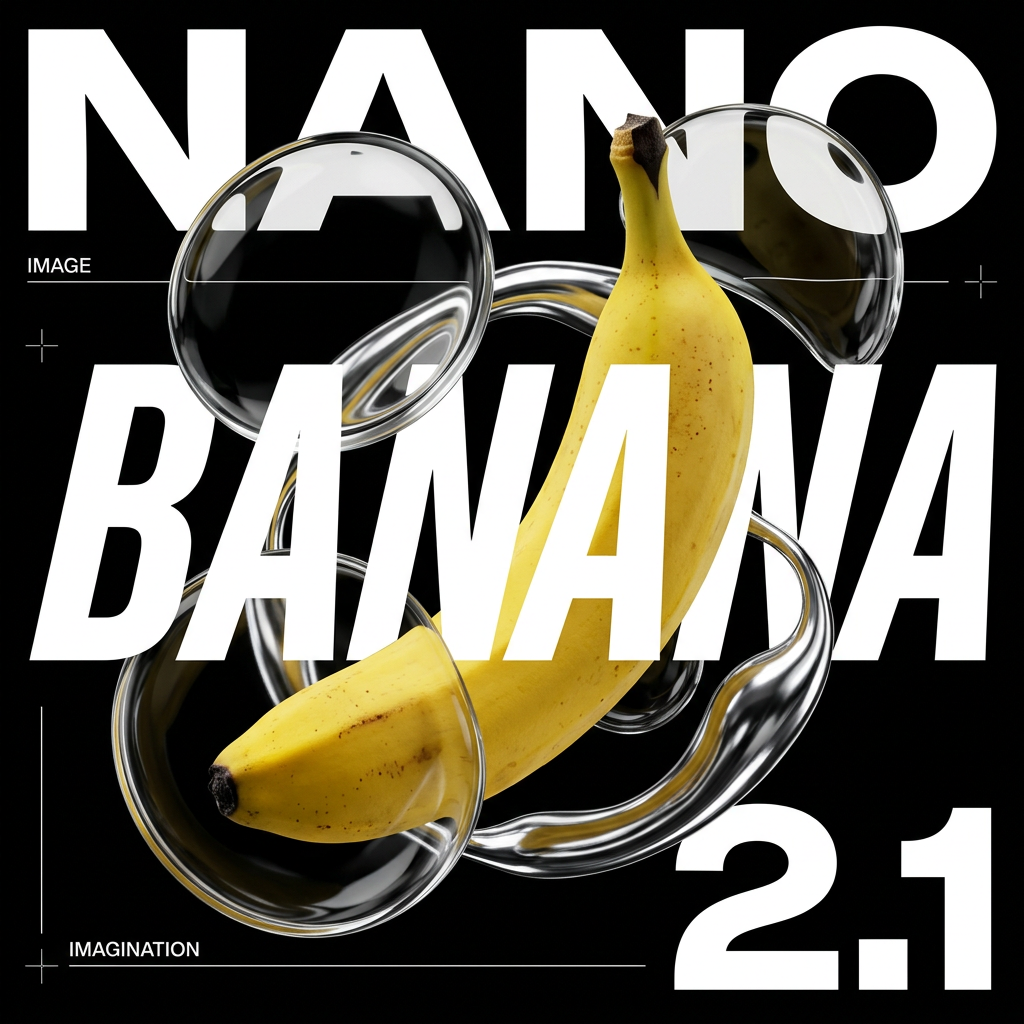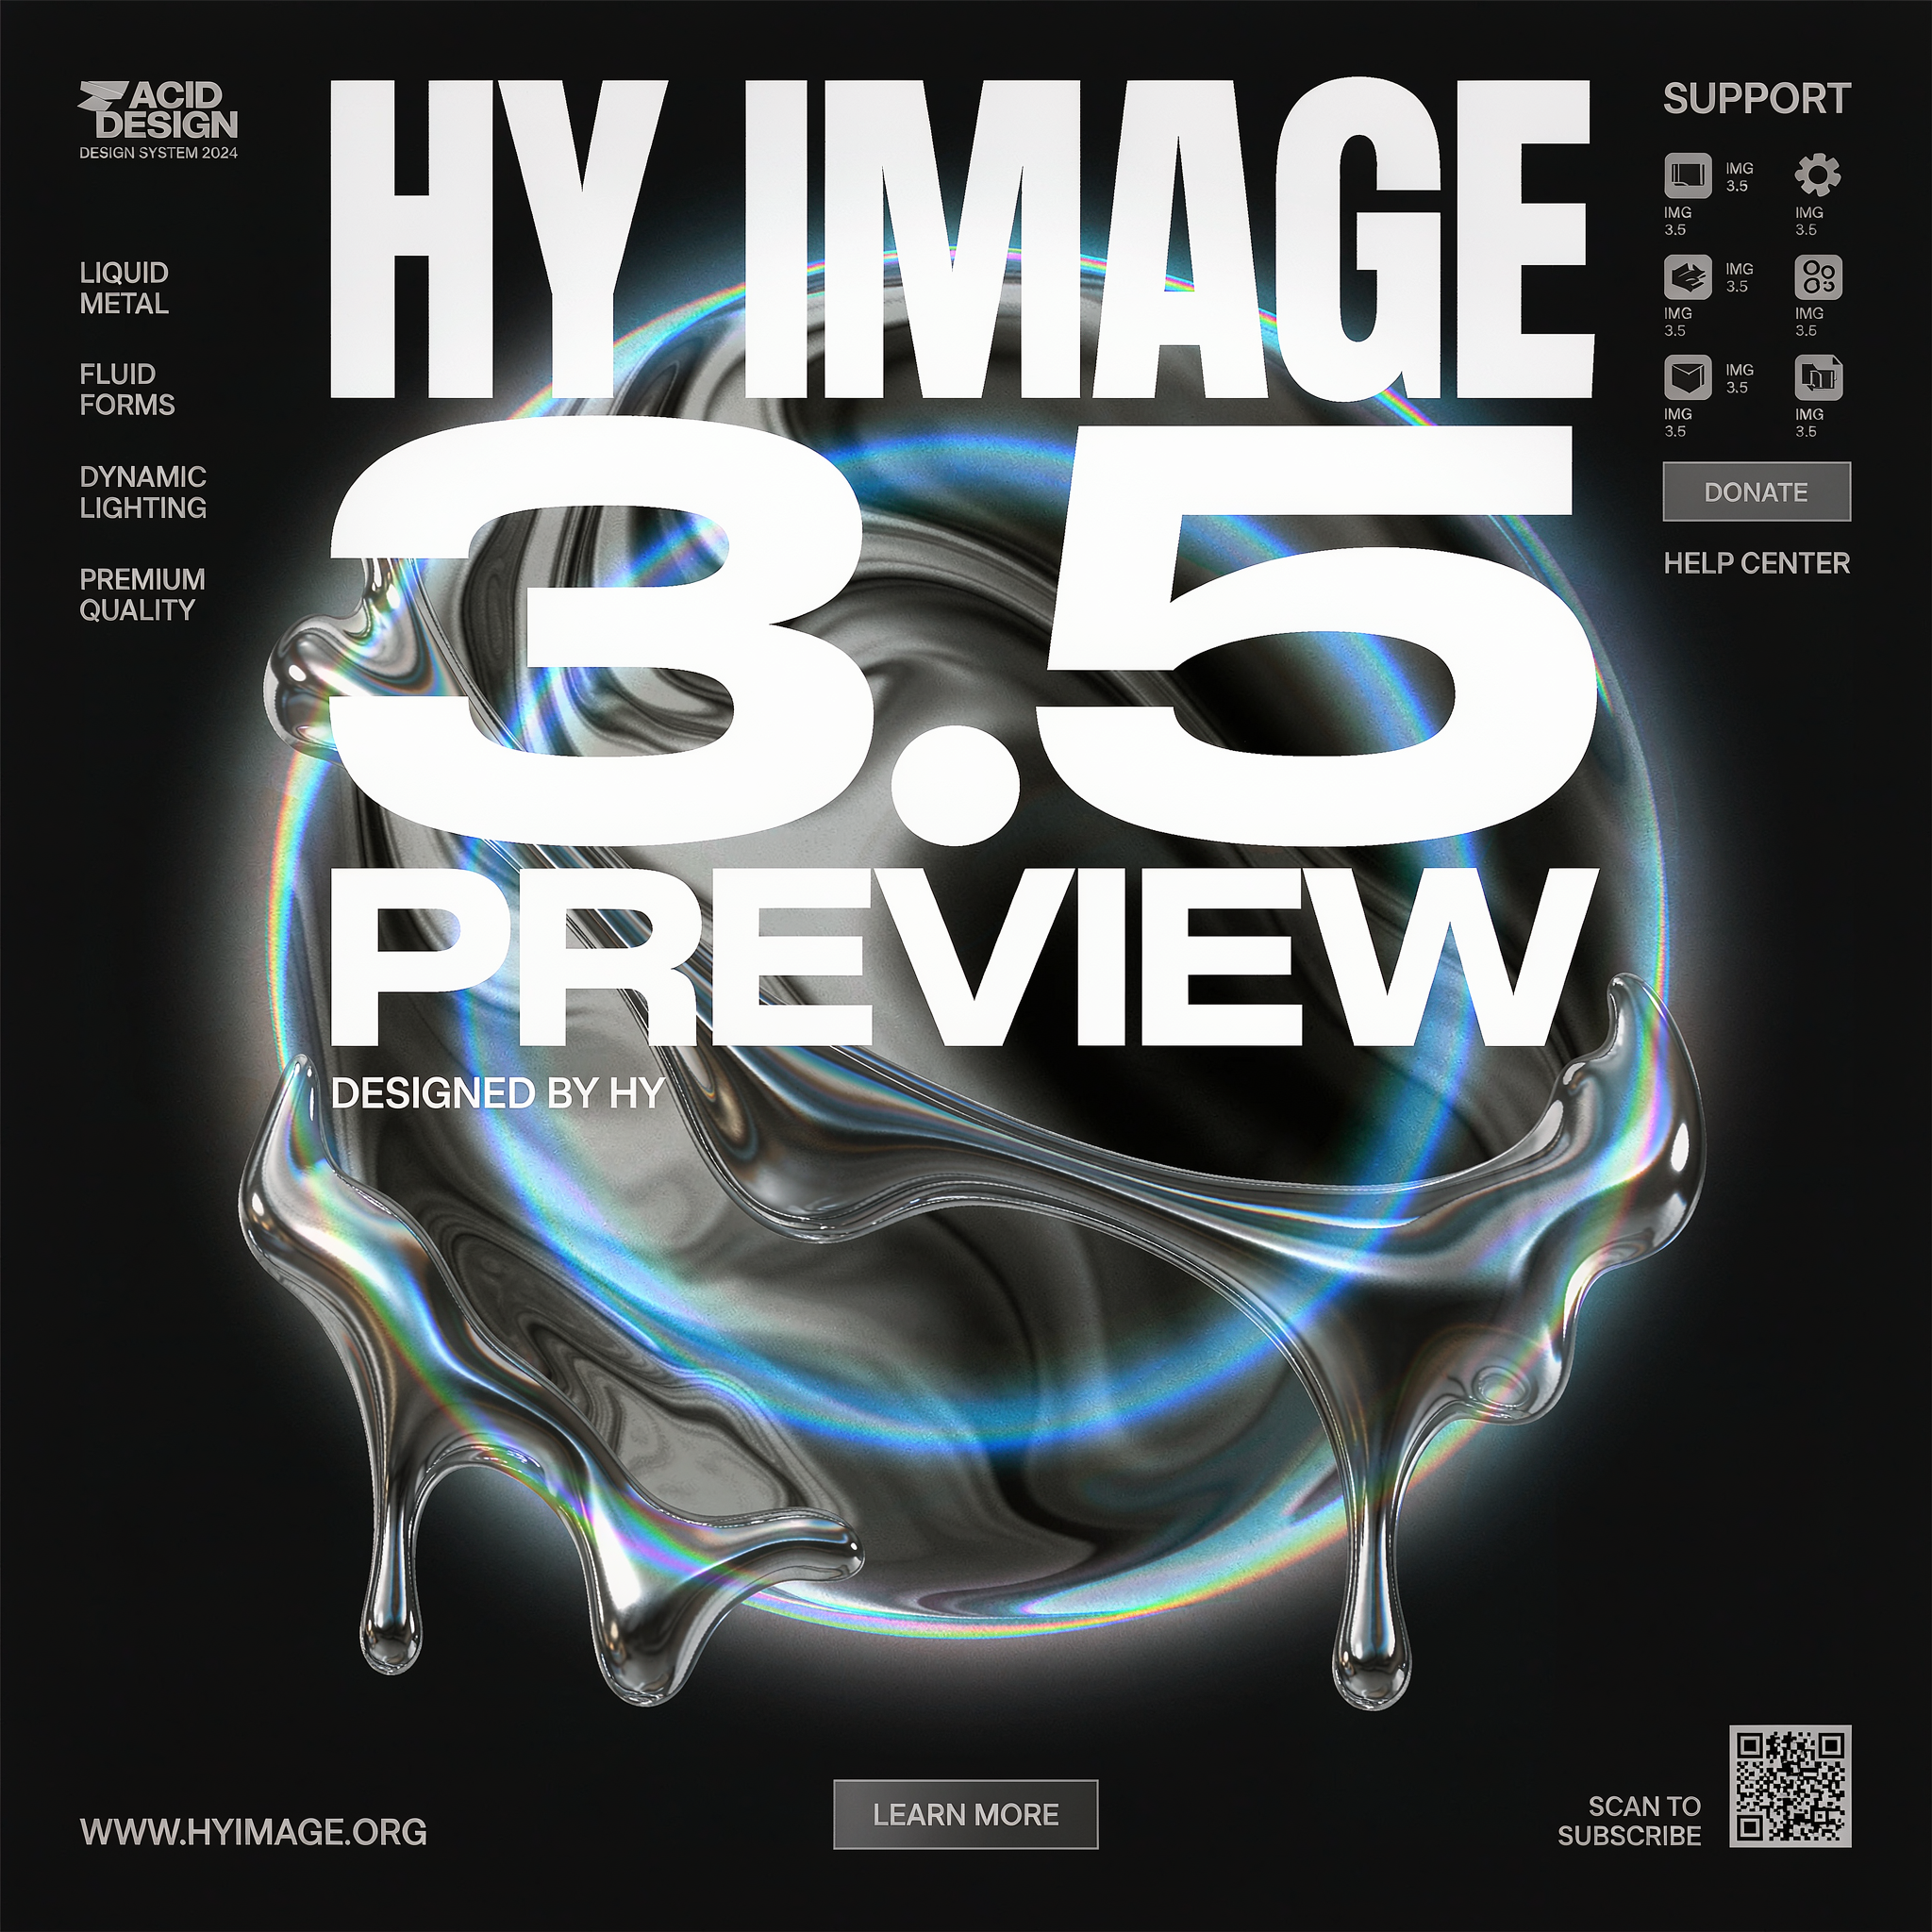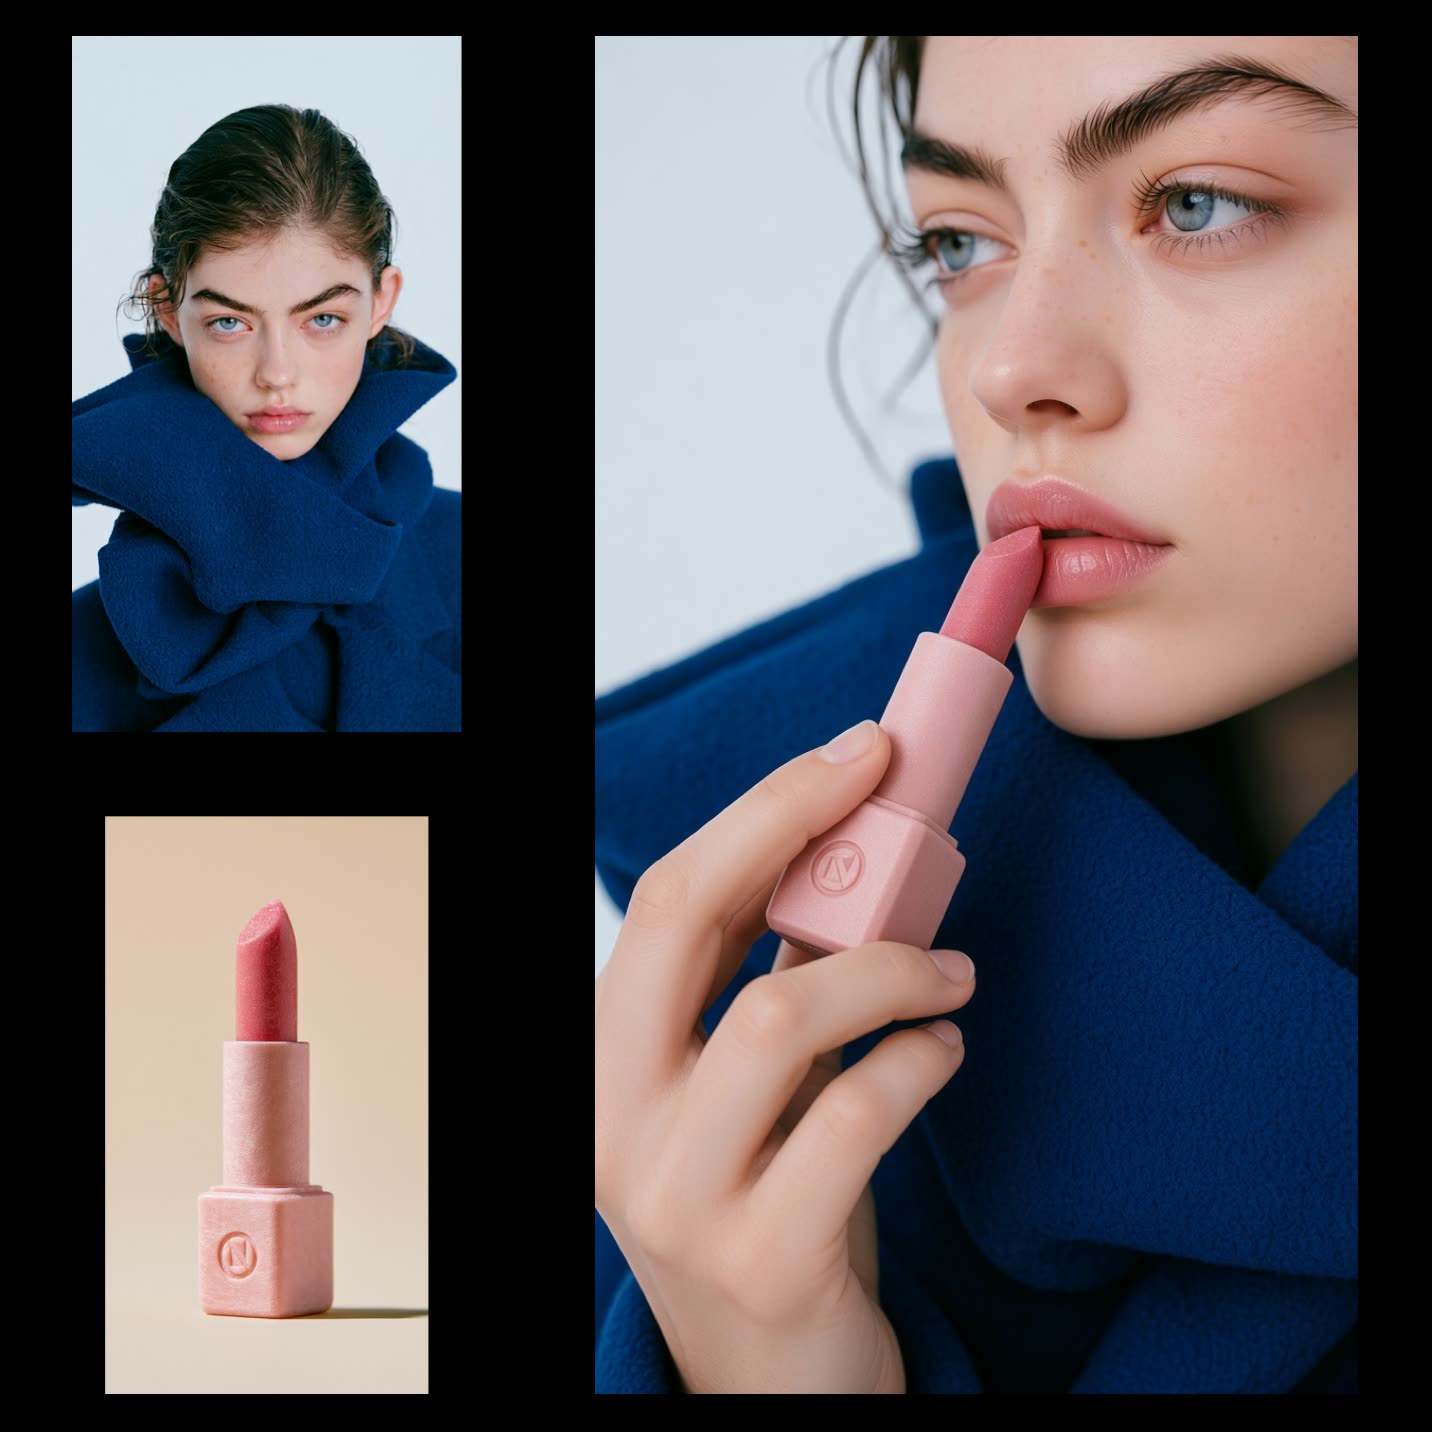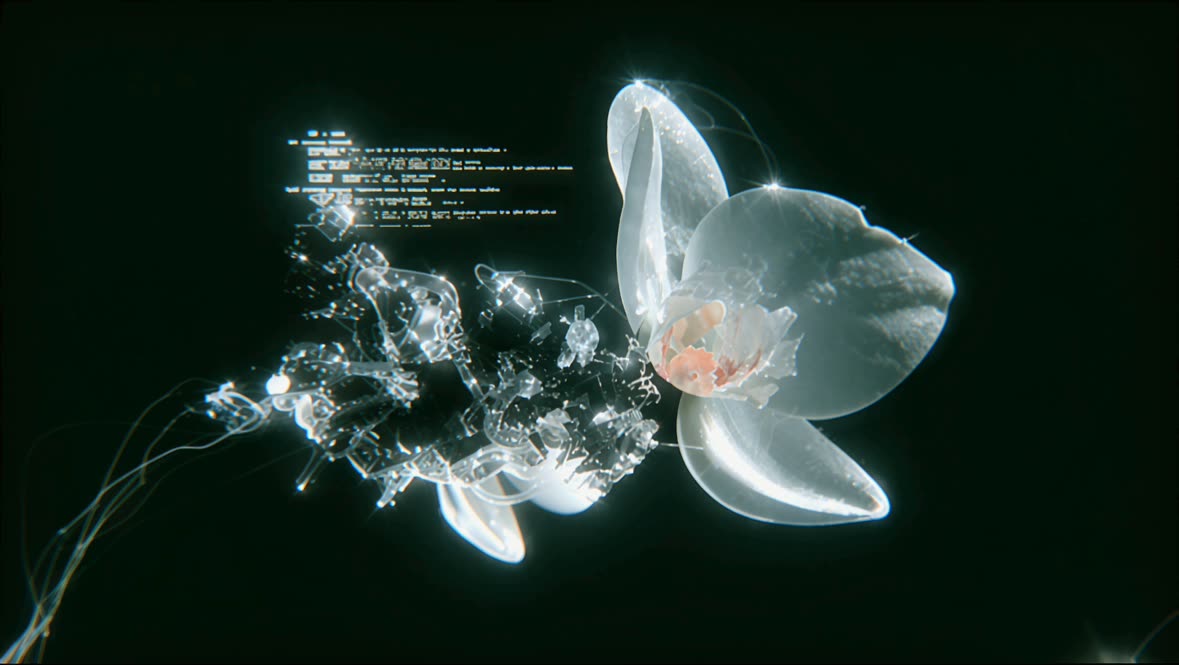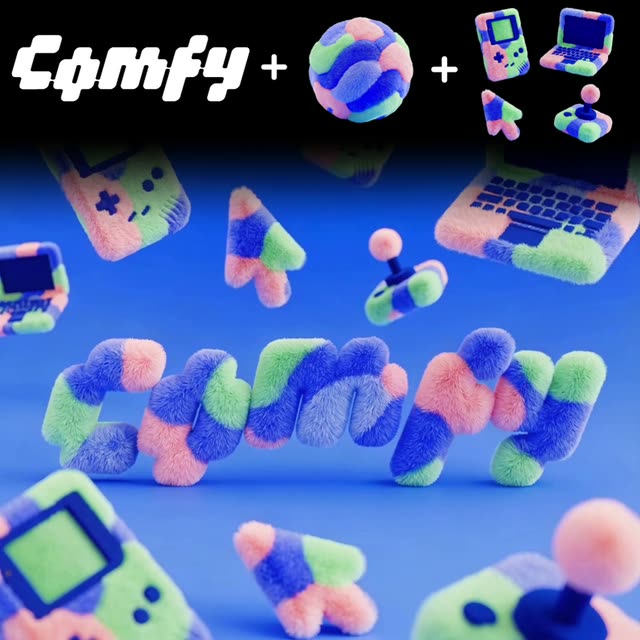
이 ComfyUI 워크플로는 정적인 로고를 동적인 텍스처 비디오 에셋으로 변환하도록 설계되어 브랜드 노출을 강화하는 데 적합합니다. 일련의 특화 노드와 모델을 활용해, 사용자는 로고와 원하는 텍스처 및 요소를 업로드한 뒤 이를 하나의 일관된 비디오 출력으로 통합할 수 있습니다. 과정은 로고, 텍스처, 추가 요소를 워크플로로 가져오는 'LoadImage' 노드에서 시작합니다. 다음으로 'GeminiImage2Node'가 이미지를 처리해 지정한 텍스처와 요소를 로고에 적용합니다. 이 노드는 Gemini3 Pro Image Preview 모델을 사용해 고품질 이미지 편집을 보장합니다.
이미지 준비가 끝나면 'ByteDanceImageToVideoNode'가 텍스처가 적용된 로고를 비디오 형식으로 변환하며, ByteDance 모델의 고급 기법을 사용해 부드러운 전환과 프로페셔널한 품질을 유지합니다. 마지막으로 'SaveVideo' 노드가 완성된 비디오를 출력해 브랜딩 및 마케팅 자료에 바로 사용할 수 있게 합니다. 또한 필요하면 'SaveImage' 노드를 사용해 비디오의 스틸 이미지를 캡처할 수 있습니다. 이 워크플로는 별도의 전문 비디오 편집 기술 없이도 매력적인 비주얼 콘텐츠를 만들고자 하는 브랜드 디자이너에게 특히 유용합니다.
API
코드에서 이 워크플로우 사용하기
모든 Comfy 워크플로우는 JSON 그래프입니다. 아래 페이로드는 이 워크플로우 그 자체로, ComfyUI에서 실행되는 것과 동일합니다 — URL에서 가져오거나, 버전 관리에 보관하거나, ComfyUI에서 불러와 노드별로 실행할 수 있습니다.
Comfy SDK로 TypeScript 또는 Python에서 실행하세요. 동일한 코드는 Comfy Cloud 또는 직접 호스팅하는 ComfyUI 모두에 적용됩니다 — 기본 URL만 다릅니다.
// Install (beta)
npm i @comfyorg/sdk

// Run "logo에 텍스처·요소 추가" (TypeScript)
import { Comfy } from "@comfyorg/sdk";

const client = new Comfy({ apiKey: "comfyui-..." });

// This workflow, exported in API format (see note below)
const wf = await client.workflows.fromFile("templates-textured_logo_elements_api.json");

const asset = client.assets.fromFile("input.png");
wf.setInput("4", "image", asset);  // LoadImage

const job = await client.run(wf);
await job.getOutputs("13")[0].toFile("output.png");  // SaveImage
SDK는 API 형식의 워크플로우를 사용합니다: 이 워크플로우를 ComfyUI에서 열고 파일 → 워크플로우 내보내기(API)를 사용하세요.
FAQ