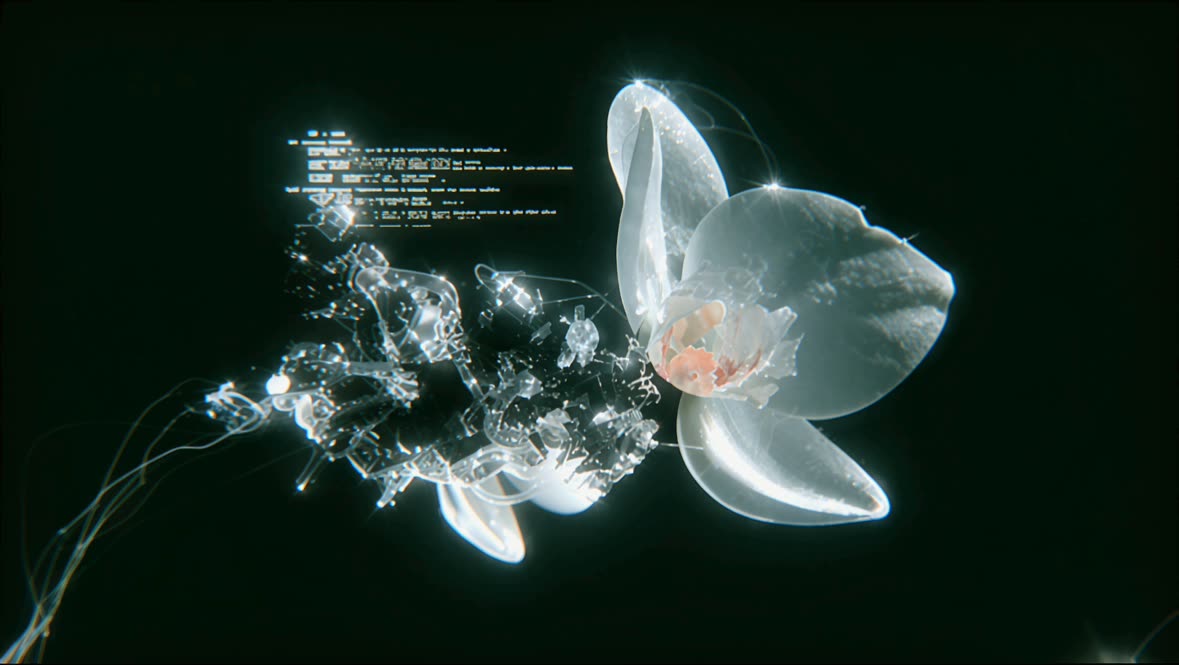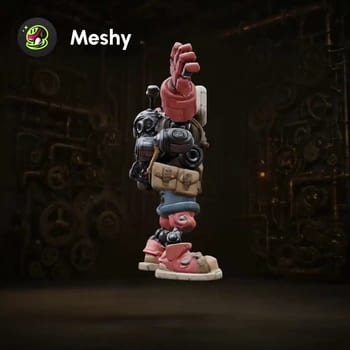
This ComfyUI tutorial workflow shows you how to turn a single 2D image into a production-ready 3D asset using the Meshy 6 API. Starting with LoadImage, your reference is sent to MeshyImageToModelNode, which generates a clean, watertight mesh with UVs directly from the image. You can then iterate on quality and detail using MeshyRefineNode, add PBR textures with MeshyTextureNode, and view results in real time through the Preview3D node.
For character and creature work, MeshyRigModelNode can auto-rig the mesh and MeshyAnimateModelNode can apply motion for quick previews or turntables. The final result is exported via SaveGLB (or directly from the Preview3D export control) as a GLB file. The workflow is organized under the Meshy Toolset group for easy enabling, and all generated models are auto-saved to ComfyUI/output/ for a frictionless handoff to DCC tools or game engines.
API
Use this workflow from code
Every Comfy workflow is a JSON graph. The payload below is this workflow, exactly as ComfyUI runs it — fetch it from the URL, keep it in version control, or load it in ComfyUI and run it node by node.
Run it from TypeScript or Python with the Comfy SDK. The same code targets Comfy Cloud or a ComfyUI you host yourself — only the base URL changes.
// Install (beta)
npm i @comfyorg/sdk

// Run "Meshy 6: Image to Model" (TypeScript)
import { Comfy } from "@comfyorg/sdk";

const client = new Comfy({ apiKey: "comfyui-..." });

// This workflow, exported in API format (see note below)
const wf = await client.workflows.fromFile("api_meshy_image_to_model_api.json");

const asset = client.assets.fromFile("input.png");
wf.setInput("8", "image", asset);  // LoadImage

const job = await client.run(wf);
await job.getOutputs("11")[0].toFile("output.png");  // SaveGLB
The SDK takes a workflow in API format: open this workflow in ComfyUI and use File → Export Workflow (API).
Comfy Cloud API access requires a plan with an API key.
FAQ