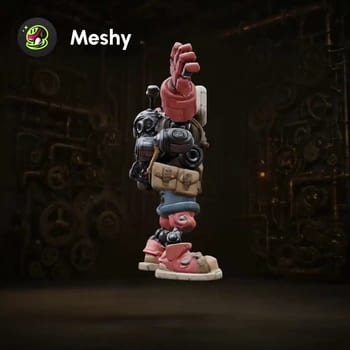
This ComfyUI tutorial workflow shows you how to turn a single 2D image into a production-ready 3D asset using the Meshy 6 API. Starting with LoadImage, your reference is sent to MeshyImageToModelNode, which generates a clean, watertight mesh with UVs directly from the image. You can then iterate on quality and detail using MeshyRefineNode, add PBR textures with MeshyTextureNode, and view results in real time through the Preview3D node.
For character and creature work, MeshyRigModelNode can auto-rig the mesh and MeshyAnimateModelNode can apply motion for quick previews or turntables. The final result is exported via SaveGLB (or directly from the Preview3D export control) as a GLB file. The workflow is organized under the Meshy Toolset group for easy enabling, and all generated models are auto-saved to ComfyUI/output/ for a frictionless handoff to DCC tools or game engines.
API
通过代码使用此工作流
每个 Comfy 工作流都是一个 JSON 图。下面的内容就是此工作流的完整数据,ComfyUI 运行时也是如此——你可以从该 URL 获取、放入版本控制,或在 ComfyUI 中加载并逐节点运行。
使用 Comfy SDK 从 TypeScript 或 Python 运行。相同代码可用于 Comfy Cloud 或你自托管的 ComfyUI——只需更改基础 URL。
// Install (beta)
npm i @comfyorg/sdk

// Run "Meshy 6:图像转模型" (TypeScript)
import { Comfy } from "@comfyorg/sdk";

const client = new Comfy({ apiKey: "comfyui-..." });

// This workflow, exported in API format (see note below)
const wf = await client.workflows.fromFile("api_meshy_image_to_model_api.json");

const asset = client.assets.fromFile("input.png");
wf.setInput("8", "image", asset);  // LoadImage

const job = await client.run(wf);
await job.getOutputs("11")[0].toFile("output.png");  // SaveGLB
SDK 需要 API 格式的工作流:在 ComfyUI 中打开此工作流,使用 文件 → 导出工作流(API)。
常见问题